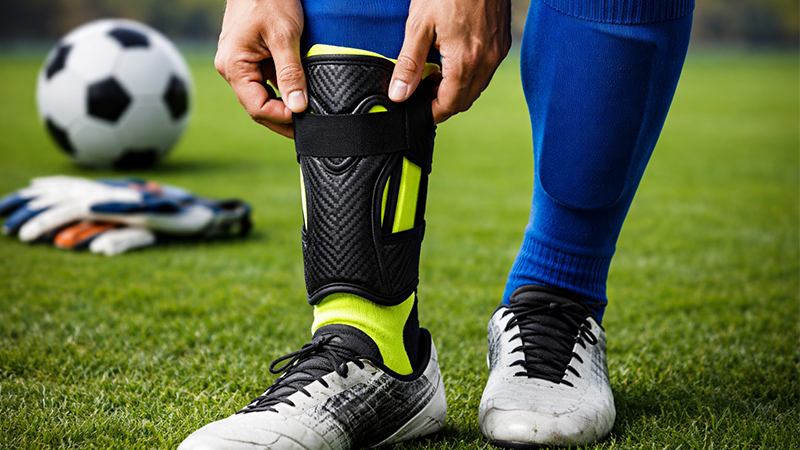
In the high-stakes environment of a baseball or softball game, the catcher is the only player on the field who is involved in every single pitch.
You are the field general, the wall behind the plate, and the primary target for 90-mph fastballs and dirt-digging sliders.
To perform this role effectively, your equipment cannot simply be “on your body”—it must be an extension of it.
Among all your gear, your shin guards are perhaps the most vital for your physical longevity. They protect your lower extremities from foul tips, wild pitches, and the immense physical toll of thousands of squats per season.
However, many catchers—from youth leagues to the collegiate level—fail to wear them correctly, leading to restricted mobility, unnecessary pain, or dangerous gaps in protection.
This guide provides a comprehensive deep dive into the proper way to wear, adjust, and maintain your shin guards to ensure you stay safe and agile behind the dish.
The Foundation of Safety – Finding Your Perfect Size
Before you ever step onto the field, the effectiveness of your shin guards is determined by their fit. A guard that is too small leaves your ankles or upper knees exposed to injury, while one that is too large will shift constantly, causing you to trip or miss a play.
The Center-to-Foot Measurement Rule
To find your ideal size, you must take a precise measurement. Use a soft measuring tape and measure from the center of your kneecap down to the top of your foot, where the guard will naturally rest. Most manufacturers list their sizes in inches based on this specific distance.
- Pro Tip: Do not measure to the floor. If the guard touches the ground, it will push upward every time you squat, eventually hitting you in the chin or throat protector.
Why Proper Sizing Prevents Injury
When a shin guard is sized correctly, the “hinge” of the guard aligns perfectly with your anatomical knee joint. This allows for a full range of motion without the plastic shell digging into your thigh or shin.
If the guard is too long, the bottom will kick out when you run, significantly increasing the risk of a “trip-and-fall” during a critical play at the plate.
Preparation – Layering for Comfort and Stability
How you dress under your gear is just as important as the gear itself. Proper layering prevents the “chafing” and “sliding” that often plagues catchers during long doubleheaders in the summer heat.
The Standard Uniform Order
Always begin by putting on your baseball socks and pants first. The shin guards are designed to be the outer layer of your leg protection.
- Socks: Wear long, moisture-wicking socks that reach at least to the bottom of your calf. This provides a barrier between the straps and your skin, preventing irritation.
- Over or Under the Pants? While some catchers prefer to wear their guards under their baseball pants for a “clean” look, many choose to wear them over the pants for easier adjustments between innings. If you wear them under your pants, ensure the pants are loose enough to allow the guard to move freely without snagging the fabric.
Section 3: Strategic Positioning – The Core Alignment
Once you are dressed, it is time to seat the guards. The goal is to create a seamless wall of protection from your foot to your thigh.
Centering the Knee Cup
The most critical point of alignment is the knee cup. You must position the center of the knee pad directly over your kneecap.
This ensures that when you drop to block a ball in the dirt, your patella is cushioned by the internal padding rather than impacting the hard plastic shell.
The Foot Anchor
While the top is centered on the knee, the lower part of the guard must rest securely on the top of your foot. Most high-quality shin guards feature an “extender” or “toe flap” that covers the laces of your cleats.
This is vital for protecting the many small bones in your foot from low-velocity foul tips that can cause season-ending fractures.
The Art of Strapping – The “Outside Rule” and Sequence
How you fasten your straps determines whether you will be an agile athlete or a clunky target. There is a specific methodology to strapping that every catcher must master.
The “Bottom-Up” Fastening Technique
Always start fastening your straps from the bottom and work your way up toward the knee. By securing the bottom straps first, you “anchor” the guard to your lower leg.
This prevents the guard from sliding down your leg as you move, which is a common issue when catchers start from the top.
The “Outside Rule” for Buckles
This is perhaps the most important safety rule for catchers: The buckles and straps must always be on the outer half of your legs.
- Why it matters: If your buckles are on the inside (between your legs), they will likely “lock” or “hook” together when you are running to back up a play at first base or sprinting to catch a pop-up. This can cause a violent fall. Always ensure the “tongue” of the strap points toward your outer calf.
Dialing in the Fit – Tension and Customization
A common mistake is thinking that “tighter is better.” In reality, over-tightening is one of the leading causes of catcher fatigue and discomfort.
Finding the Tension “Sweet Spot”
Your straps should be snug enough to keep the pads secure but not so tight that they restrict blood flow or pinch your skin. If you see deep indentations in your calves after a game, your straps are too tight.
Adjustable Knee Protection
Many modern shin guards come with adjustable Velcro components in the knee area. Take the time to sit in a chair and move these pads around until they cradle your knee perfectly.
This customization allows for a “bespoke” fit that accommodates players with different leg shapes and sizes.
Avoiding the “Squat Pain”
If the knee cap area is tightened excessively, it will cause significant pain when you drop into a squat. The guard needs a small amount of “play” or “wiggle room” to expand as your leg muscles flex and your knee joint bends. If it feels restricting while you are standing, it will be unbearable once you are behind the plate.
The Performance Test – Mobility and Game Readiness
Never take the field without performing a “stress test” on your gear in the dugout or bullpens.
The Squat and Sprint Test
Once your guards are on, perform a series of full squats and a short sprint.
- The Squat: Do the guards stay centered? Does the knee cup stay over the kneecap?
- The Sprint: Do the guards clank together? Do they feel like they are “slipping” down your shins?
If the guards fall off or hinder your movement in any way during these tests, you must readjust the tension or the positioning before the first pitch.
Troubleshooting Common Gear Issues
Even the best gear can act up during a long game. Here is how to handle the most common frustrations.
What to Do if Guards Shift During Play
If you find that your guards are sliding side-to-side or dropping toward your ankles during an inning, the first step is to check your strap tension. However, if the straps are already snug and the shifting persists, many professionals use athletic tape.
- The Tape Trick: Wrap a single layer of athletic tape over the straps once they are buckled. This “locks” the buckle in place and prevents the elastic from stretching out during high-intensity movements.
Managing the “Locked Leg” Sensation
If you feel like you can’t fully straighten your legs while running, check the uppermost strap behind your thigh.
Often, this strap is too high or too tight, catching in the “crease” behind your knee. Loosening just the top strap can often restore your full running gait without sacrificing protection.
Maintenance for Longevity
Catcher’s gear is an investment. Proper care ensures the straps maintain their elasticity and the padding stays protective.
- Dry Them Out: Never leave your shin guards in a closed equipment bag overnight. Sweat breaks down the elastic in the straps and leads to bacteria growth.
- Check the Rivets: Periodically inspect the metal rivets that hold the straps to the plastic shell. If they become rusty or loose, they can snap during a game.
- Cleaning: Use a damp cloth to wipe away dirt and salt from sweat. Avoid harsh chemicals that can degrade the high-impact plastic.
Conclusion: The Confidence of Proper Gear
Wearing your catcher’s shin guards correctly is about more than just avoiding bruises; it’s about confidence. When you know your gear is secure, you can focus entirely on the pitcher’s rhythm, the batter’s tendencies, and the flow of the game.
By following the bottom-up fastening method, adhering to the “outside rule” for buckles, and ensuring your knee cup is perfectly centered, you transform your gear from a heavy burden into a protective suit of armor.
Remember: a well-fitted guard is one you eventually forget you’re even wearing. Now, get behind the plate and lead your team to a win!