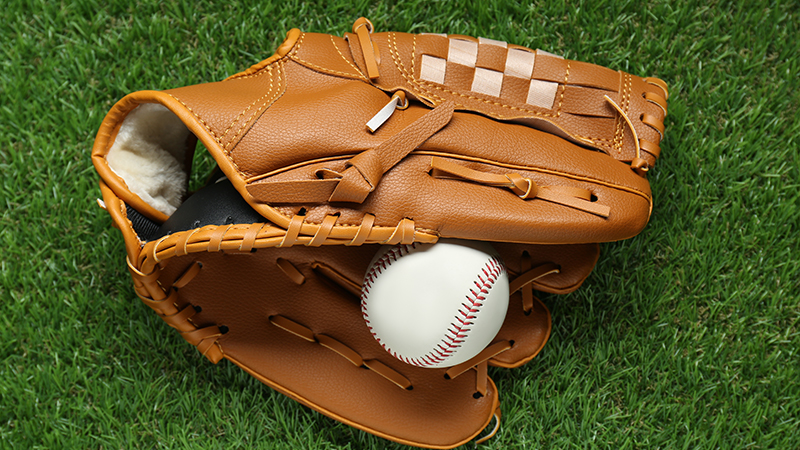
In the world of elite baseball and softball, few pieces of equipment carry the prestige, history, and raw potential of the Wilson A2000. Since its introduction in 1957, the A2000 has set the gold standard for performance, craftsmanship, and durability.
However, for many athletes, the initial experience of unboxing a new A2000 can be daunting. The glove arrives stiff, rigid, and unyielding—a testament to the high-quality Pro Stock leather used in its construction.
Breaking in a Wilson A2000 is not merely a task; it is a ritual. It is the process of transforming a mass-produced masterpiece into a bespoke tool tailored specifically to the contours of your hand and the demands of your position.
To do this correctly requires a blend of traditional craftsmanship and modern maintenance techniques.
his guide serves as the ultimate resource for athletes, coaches, and parents who demand a professional-grade break-in that preserves the glove’s integrity for years of peak performance.
The Science of Pro Stock Leather: Why the Break-In Matters
Before diving into the mechanical steps, it is essential to understand what makes the Wilson A2000 unique. The glove is constructed from Pro Stock leather, a premium American Steerhide preferred by Major League players for its rugged durability and unmatched feel.
Because this leather is so dense and high-quality, it requires a deliberate “breaking-in” period to soften the fibers enough to allow for a fluid close, while maintaining enough structural “backbone” to keep its shape over a long season.
A “bad” break-in—using shortcuts like microwaves or excessive oils—can ruin the leather’s fibers, making the glove “floppy” or heavy. A “professional” break-in, however, focuses on establishing hinges and pocket depth through heat, moisture, and mechanical impact.
Preparing the Leather (The Hot Water Method)
The first hurdle in the break-in process is the initial stiffness. To overcome this, professional glove technicians utilize the “Hot Water Method” to relax the leather fibers without damaging the skin of the hide.
The Temperature Rule
Temperature control is critical. You must use water heated to between 150°F and 160°F. Boiling water is strictly prohibited, as it can “cook” the leather, causing it to become brittle and prone to cracking once it dries.
Application
- Strategic Pouring: Carefully pour the hot water over the pocket, fingers, and webbing. This localized application allows the areas that need the most flexibility to soften immediately.
- Avoid the Laces: While the leather requires softening, the laces provide the glove’s tension. Try to avoid saturating the laces excessively, as water can cause them to stretch or lose their strength over time.
- Controlled Submersion: If the glove is exceptionally stiff, it can be briefly submerged, but this should be done with caution and only for a few seconds to ensure the water penetrates the palm padding.
Establishing the Structural Foundation
Once the leather is warm and pliable, you have a limited window of time to set the “architecture” of the glove. This is where you define how the glove will function as a mechanical tool.
Defining the Hinge Points
The most important mechanical aspect of a glove is the hinge. Without clear hinge points, the glove will feel “mushy” and won’t close consistently.
- The Thumb Hinge: Manually bend the glove at the base of the thumb, forcing the leather to crease where the palm meets the thumb stall.
- The Pinky Hinge: Repeat this process on the pinky side. By establishing these two points, you ensure the glove closes like a “clamshell,” providing maximum surface area to trap the ball.
Pounding the Pocket
The pocket is the heart of the glove. A shallow pocket leads to “pop-outs,” while a deep, well-defined pocket ensures the ball stays secure.
- Tools of the Trade: Use a specialized mallet, a baseball, or a softball to strike the glove.
- The Technique: Repeatedly strike the center of the pocket, the web, and the creases. The goal is to simulate thousands of catches in a matter of minutes. This mechanical impact stretches the leather in the specific areas where the ball will impact, creating a “nest” for the ball to sit in.
Shaping and Customization
No two players have the same hand shape or fielding style. The A2000 is designed to be customized to your specific needs during the break-in phase.
The Finger Profile
Depending on your preference and position, you can shape the extremities of the glove:
- Flaring the Thumb: Many infielders prefer to flare the thumb outward. This creates a wider “funnel” for ground balls, allowing for a quicker transition from glove to throwing hand.
- The Straight Pinky: Conversely, leaving the pinky finger straight up or slightly curved inward helps maintain a deep pocket for outfielders or those who want a more secure “wrap” around the ball.
The “Two in the Pinky” Method
A popular professional trend, particularly for those with smaller hands or those seeking more leverage, is the “Two in the Pinky” technique.
- How it works: Instead of the traditional one-finger-per-stall alignment, you place both your ring finger and pinky finger into the pinky stall.
- The Benefit: This shift provides significantly more leverage when closing the glove, making it easier to squeeze the stiff Pro Stock leather. It also shifts the hand’s position to naturally create a deeper pocket.
The Preservation Window (Drying and Conditioning)
After the moisture and mechanical shaping, the glove enters its most vulnerable state. How you handle the next 96 hours will determine the longevity of the leather.
The Drying Process
Patience is the defining characteristic of a professional break-in.
- Ventilation: Place the glove in a well-ventilated area and allow it to air dry for 2 to 4 days.
- Avoid External Heat: Never place the glove in an oven or microwave to speed up the process. Dry heat strips the natural oils from the leather, leading to permanent structural damage and “leather rot.”
Conditioning for Longevity
Once the glove is completely dry, the leather may feel slightly stiff or “chalky” because the water has moved some of the natural oils.
- Light Application: Apply a light coat of glove conditioner. Focus on the palm and the areas where the leather creases.
- Avoid Over-Oiling: This is a common mistake for amateurs. Excessive conditioner is absorbed into the padding and leather, making the glove unnecessarily heavy and “mushy”. A little goes a long way; the goal is to prevent the leather from becoming brittle, not to saturate it.
The Human Element: The Final 10%
While mallets and hot water can get a glove 90% of the way there, the final 10% can only be achieved through the human element.
Playing Catch
The most important step in the entire process is simply playing catch. No machine or tool can replicate the unique way your hand moves inside the glove.
As you play catch, the glove continues to mold to the specific “nooks and crannies” of your palm and fingers. It is this final stage that turns a piece of leather into a true extension of your body.
Consistency and Patience
A perfect break-in takes time and usage. Don’t expect the glove to be “game-ready” after a single session. Trust the process, and recognize that the A2000’s stiffness is actually a sign of its quality; it is a “memory” leather that, once shaped, will hold that shape for years.
Common Mistakes to Avoid
To ensure your investment lasts, avoid these frequent pitfalls:
- Boiling Water: Can “scald” the leather and ruin the grain.
- Microwaves/Ovens: Causes the leather to dry out and the laces to snap.
- Leaving it in a Hot Car: The trunk of a car can act like an oven, baking the glove and ruining its shape.
- Excessive Oil: Adds weight and kills the “pop” of the glove.
Enhanced FAQ: Expert Insights for the A2000
Q: How long does it take to break in an A2000?
A: Using the professional methods outlined here, a glove can be “practice-ready” in about a week. However, reaching a “game-ready” state usually takes several weeks of consistent catch-playing and usage.
Q: Can I use the “Hot Water Method” on an older glove?
A: It is generally recommended for new, stiff gloves. For older gloves, focus more on light conditioning and reshaping rather than intensive water treatments.
Q: Should I put a ball in the glove while it’s drying?
A: Yes. Placing a ball in the desired pocket area and securing the glove with a rubber band (not too tight) during the 2-4 day drying period helps the glove “remember” that circular shape.
Q: Why does Wilson use Pro Stock Leather if it’s so hard to break in?
A: Pro Stock leather is chosen for its “longevity.” While it takes longer to break in, it stays in its “prime” longer than softer, cheaper leathers that may feel good immediately but lose their shape quickly.
Conclusion: The Reward of Patience
The Wilson A2000 is more than just a piece of equipment; it is a partner on the field. By following these professional steps—carefully preparing the leather with hot water, establishing strong hinge points, mechanically shaping the pocket, and allowing for proper drying and conditioning—you ensure that your glove provides the maximum performance possible.
Remember: Patience is your greatest tool. Avoid the shortcuts that compromise the leather’s integrity. If you put in the work during the break-in process, your A2000 will reward you with seasons of reliable play and the confidence that comes from knowing your gear is perfectly tuned to your game.