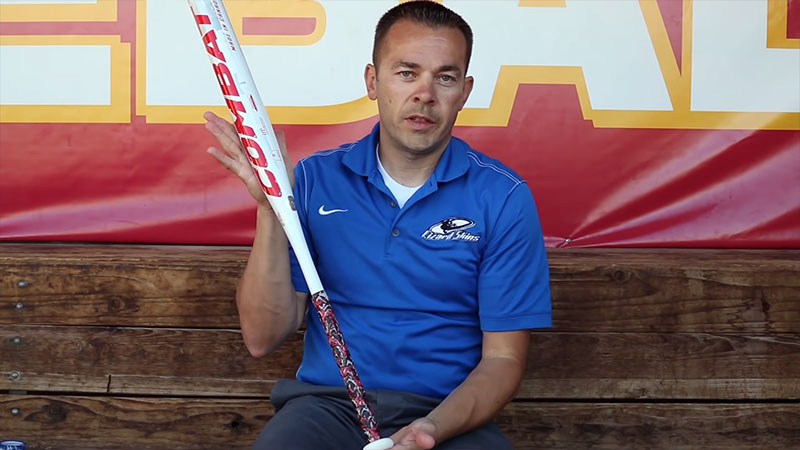
Whether you are a seasoned high school coach or a volunteer parent stepping onto the diamond for the first time, your fungo bat is arguably your most important piece of equipment.
Unlike a standard game bat, a fungo is designed for high-repetition accuracy, featuring a long, thin wood structure that allows for hours of effortless fly balls and grounders. However, this specialized design also makes the bat uniquely vulnerable to damage.
Learning how to tape a fungo bat is not just about aesthetic preference; it is a vital maintenance step to protect the wood from breaking or splitting, thereby significantly extending its functional life.
In this comprehensive guide, we will break down the professional techniques for wrapping your handle and barrel to ensure maximum durability and grip performance.
The Science Behind the Wrap: Why Fungos Require Tape
Traditional game bats are built for impact against high-velocity pitching, while fungos are built for control.
Because they are thinner and lighter, the stress of constant contact can cause the grain of the wood—particularly in ash wood bats—to delaminate or “flake” over time.
By applying a high-quality wrap, you are essentially creating a protective “skin” that holds the wood fibers together under tension. This is especially critical for coaches who use their bats daily. A properly taped bat provides:
- Structural Integrity: Prevents the thin handle from snapping under the torque of a swing.
- Vibration Dampening: Reduces the “sting” on off-center hits.
- Enhanced Grip: Ensures the bat stays secure in your hands, even during hot, humid doubleheaders.
Step 1: Preparing Your Workspace and Materials
Before you begin the physical wrapping process, you must ensure your bat is ready to receive the adhesive. Preparing the area is the foundation of a long-lasting tape job.
- Clean the Handle: Use a damp cloth to remove any old pine tar, dirt, or oils from the wood. If there is old tape residue, a small amount of adhesive remover can be used, but ensure the handle is completely dry before proceeding.
- Select Your Tape: While many players use synthetic grips, they recommend standard athletic tape for fungos because of its ability to be layered thinly and its high-friction texture.
- Inspect for Damage: Check for any existing hairline fractures. If a split is already deep, tape may only provide a temporary fix.
Step 2: The Foundation—Starting at the Knob
The most common mistake is starting the tape too high up the handle. To ensure the wrap doesn’t slide during use, you must start at the very bottom of the bat.
Creating the “Flare” Many professional coaches prefer a custom feel to their equipment. You can use your tape to build a small “flare” at the knob.
By wrapping the tape around the base of the knob multiple times before moving up the handle, you create a physiological stop for your hand. This “flare” improves leverage and prevents the bat from slipping out of your grip during a full-extension swing.
Once the flare is established (or if you prefer a standard knob), apply a single, secure wrap around the base to anchor the tape firmly in place.
Step 3: The Spiral—Consistency and Tension
The middle section of the wrap determines the “feel” of the bat. This is where technical precision is required.
- Maintain High Tension: It is essential to keep the tape taut throughout the entire process. If the tape is loose, it will eventually shift, creating uncomfortable bunches.
- The Angle: Angle the tape upward at a slight diagonal.
- The Overlap: As you spiral up the handle, aim for a consistent 1/4-inch to 1/2-inch overlap for each revolution.
- Eliminate Imperfections: Maintaining firm, consistent tension is the only way to avoid the formation of bubbles or wrinkles that can cause blisters during a long practice.
Step 4: Layering for Maximum Protection
Because a fungo is a lightweight, thin-wood instrument, a single layer of tape is often insufficient for long-term protection. To maximize the lifespan of the bat, experts recommend applying two to three layers of tape.
Each subsequent layer should follow the same overlapping pattern as the first. This creates a cushioned, “built-up” grip that absorbs more shock and provides a thicker surface area for the coach to grasp, which can reduce hand fatigue.
Step 5: Finishing the Handle Securely
How you end the wrap is just as important as how you start it. You want to ensure the tape does not peel back from the top down.
- Check Your Hand Placement: Extend the tape past the highest point where your top hand will rest during a swing.
- The Final Wrap: You can finish by tapering the tape back down slightly or by ending with a straight, thick wrap to create a clean, professional edge. This final “ring” of tape at the top acts as a secondary anchor, ensuring the spiral layers beneath it stay locked in place.
Step 6: Optional Barrel Taping for Ash Bats
While handle taping is standard, barrel taping is an “insider secret” used by many veteran coaches. This is particularly useful if you are using an ash wood fungo, as ash is a ring-porous wood that tends to “flake” or split along the grain lines after repeated impact.
To tape the barrel:
- Identify the “sweet spot” or the area where you most frequently make contact.
- Apply a thin, single layer of tape around this section.
- This acts as a compression sleeve, holding the grains together and preventing the surface of the wood from splintering.
Step 7: Maintenance and When to Re-Tape
A tape job is not permanent. To maintain a good, secure grip, you must be proactive about maintenance.
Signs you need to replace your tape:
- Smoothness: If the tape becomes worn or slick, you lose the friction necessary for bat control.
- Peeling: If the edges at the knob or the top of the handle begin to curl.
- Dirt Saturation: Over time, sweat and dirt will break down the adhesive, causing the tape to shift.
When these signs appear, strip the bat back to the bare wood and repeat the process. Constant consistency in your overlap and keeping the tape taut during application will ensure that each new wrap feels as good as the first.
Conclusion: A Small Investment for a Long-Lasting Tool
Taping a fungo bat is a craft that balances protection with personal preference. By focusing on high tension, consistent overlapping, and proper layering, you can transform a standard piece of wood into a durable, high-performing coaching tool.