To make lineout lifting blocks, you must follow specific steps and use suitable materials to ensure safety and effectiveness.
These blocks play a crucial role in rugby lineouts, providing stability and support for players during lifting maneuvers.
In this guide, we’ll explore the process of creating homemade lineout lifting blocks, offering detailed instructions and tips for success.
From selecting the suitable materials to assembling the blocks precisely, we’ll cover everything you need to know to produce high-quality lifting blocks tailored to your team’s needs.
Whether you’re a coach looking to enhance training sessions or a player seeking to improve performance on the field, mastering the art of making lineout lifting blocks is essential for success in rugby.
Let’s dive into the steps and techniques required to create these vital pieces of equipment. Stay focused.
Can I Make DIY Deadlift Blocks for Lineout Lifting Supports?
You can create DIY deadlift blocks for lineout lifting supports using readily available materials. Start by acquiring sturdy wooden planks or blocks of appropriate dimensions.
Ensure they are strong enough to support the weight you intend to lift. Cut the wood to the desired length, typically around 8 to 12 inches, depending on your preference and needs. Sand the edges to remove any roughness and splinters.
Next, consider adding handles for more accessible transportation and positioning. You can attach these using screws or strong adhesive, ensuring they’re securely fixed to the blocks.
Optionally, you may want to paint or seal the blocks to protect them from moisture and wear over time.
Test the blocks to ensure they can bear the weight safely before use. Always prioritize safety when lifting weights, ensuring proper form and using appropriate equipment.
With these DIY deadlift blocks, you can enhance your lineout lifting support training effectively and affordably.
Understanding Rugby Lineout Lifting Blocks
In rugby, lineout lifting blocks are crucial in supporting players during lineout maneuvers, facilitating effective lifting, and securing possession of the ball. Here’s a breakdown of their significance and critical aspects to consider:
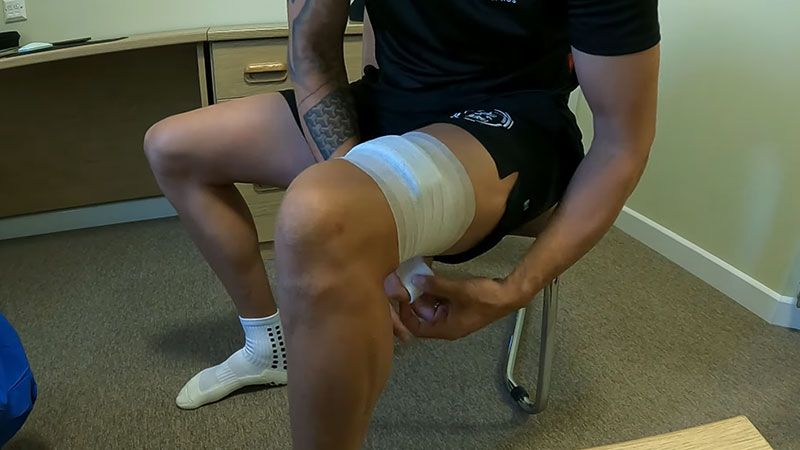
Height Adjustment
Lineout lifting blocks allow lifters to adjust the height they lift their teammates, ensuring optimal positioning to contest for the ball.
This adaptability is essential for accommodating players of varying heights and maximizing the team’s reach.
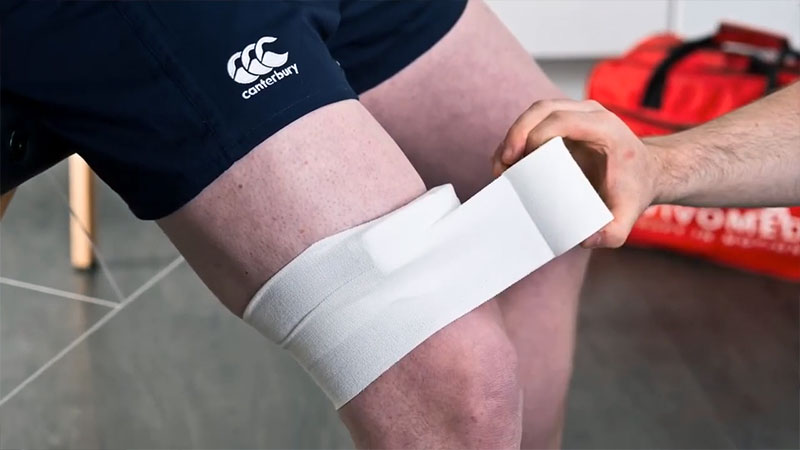
Stability and Safety
Well-constructed lifting blocks provide a stable platform for lifters, reducing the risk of slips or collapses during the lineout.
Stability is paramount to ensure the safety of both lifters and the player being lifted, preventing injuries and maintaining confidence in executing set-piece plays.
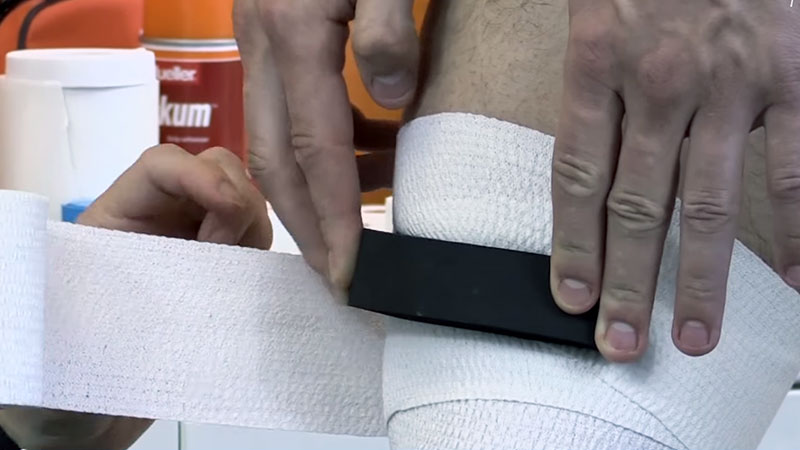
Material Durability
Lifting blocks are typically made from sturdy materials such as wood or durable plastics to withstand the physical demands of rugby.
They must endure repeated impacts and weight-bearing without compromising their integrity, emphasizing the importance of selecting quality materials and construction techniques.
Portability and Handling
Portable lifting blocks are advantageous for teams that travel frequently or require equipment for training sessions away from their home ground.
Considerations such as weight, size, and handles for easy transportation are essential to facilitate seamless integration into training routines.
Customization and Personalization
Some teams customize their lifting blocks with logo, colors, or player numbers, adding a personal touch and fostering team identity.
While aesthetics are secondary to functionality, personalized blocks can instill a sense of pride and unity among players.
Regulatory Compliance
It’s crucial for lifting blocks to comply with rugby union regulations regarding dimensions, materials, and safety standards.
Adhering to these guidelines ensures fair play, minimizes the risk of penalties, and promotes consistency across competitions.
These aspects of rugby lineout lifting blocks enable teams to make informed decisions when selecting, utilizing, and maintaining this essential equipment, contributing to overall performance and success on the field.
How to Make Rugby Lifting Blocks: Essential Materials and Tools
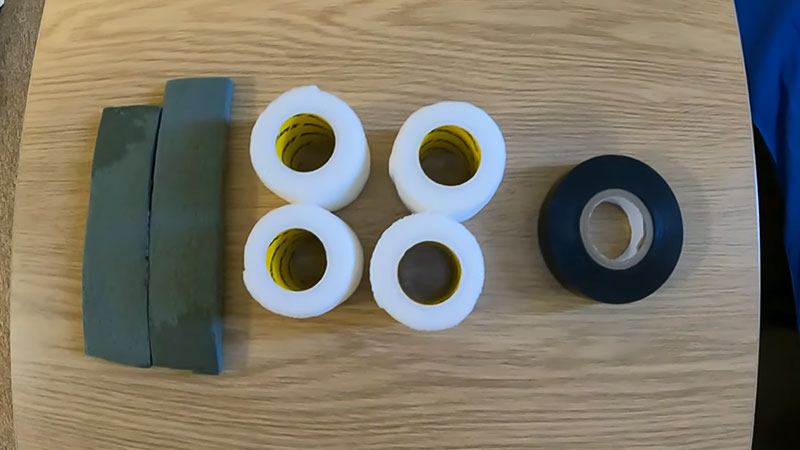
To make rugby lifting blocks, you’ll need the following essential materials and tools:
Materials
- Sturdy wood planks or blocks: Choose durable wood to support the lifted players’ weight. Hardwoods like oak or maple are excellent choices.
- Screws or nails: These will be used to assemble the lifting blocks securely.
- Sandpaper: To smooth any rough edges and surfaces.
- Wood glue (optional): For extra reinforcement in securing joints.
- Paint or sealant (optional): To protect the wood from moisture and wear and for customization if desired.
Tools
- Saw: To cut the wood to the desired dimensions. A circular saw or hand saw will work.
- Drill: For making pilot holes and driving screws or nails.
- Screwdriver or hammer: To insert screws or nails into the wood.
- Sanding block or electric sander: For smoothing the wood surfaces.
- Measuring tape and pencil: To mark and measure the wood for accurate cutting.
- Clamps (optional): Hold pieces of wood together while the glue dries if using.
You can construct your rugby lifting blocks once you’ve gathered these materials and tools.
Remember to prioritize safety and precision during the assembly process to ensure the blocks are sturdy and reliable for training and matches.
How To Make Lineout Lifting Blocks: Step-by-step Process
Creating lineout lifting blocks is a practical and essential task for rugby teams aiming to enhance their training and match-day preparations.
These blocks provide stability and support during lineout maneuvers, enabling players to contest for possession effectively. Here’s a step-by-step guide to making lineout lifting blocks:
Gather Materials and Tools
Collect all the necessary materials and tools, including sturdy wood planks or blocks, screws or nails, sandpaper, wood glue (optional), paint or sealant (optional), a saw, drill, screwdriver or hammer, sanding block or electric sander, measuring tape, and clamps (optional).
Design and Measurements
Determine the dimensions of your lifting blocks based on the needs of your team and the regulations governing lineout lifting equipment.
Measure and mark the wood according to your chosen dimensions, ensuring accuracy for uniformity across all blocks.
Cutting the Wood
Use a saw to cut the wood planks or blocks to the desired dimensions. Ensure straight and precise cuts to achieve consistency in size among the lifting blocks.
Assembly
If using multiple pieces of wood to create a block, assemble them using screws or nails.
Predrill pilot holes to prevent splitting, then secure the pieces tightly to form a sturdy structure. Optionally, use wood glue for additional reinforcement.
Smoothing Surfaces
Use sandpaper or an electric sander to smooth rough edges or surfaces on the lifting blocks. This step is crucial for preventing splinters and ensuring player safety during use.
Optional Customization
If desired, apply sealant to the lifting blocks to protect against moisture and wear. To enhance team identity and pride, you can customize the blocks with team colors, logos, or player numbers.
Quality Check
Inspect the assembled lifting blocks to ensure they are structurally sound and meet the required specifications. Test their stability and durability to verify their suitability for use in training and matches.
By following these steps, you can create reliable and effective lineout lifting blocks that contribute to the success and performance of your rugby team.
Tips for Making Homemade Lifting Blocks Rugby
Creating homemade lifting blocks for rugby requires attention to detail and a focus on safety and functionality. Here are some tips to help you make effective homemade lifting blocks:
Choose Durable Materials
Opt for sturdy wood or durable plastics that can withstand the rigors of rugby training and matches. Select materials that are strong enough to support the weight of lifted players without compromising safety.
Follow Regulations
Familiarize yourself with the regulations governing lineout lifting blocks in rugby. Ensure your homemade blocks meet the required dimensions, materials, and safety standards to avoid penalties and ensure fair play.
Precision in Measurement and Cutting
Take accurate measurements and use a saw to cut the wood or plastic components precisely according to your desired dimensions. Consistency in size and shape among the lifting blocks is essential for uniformity and stability.
Reinforce Joints
Use screws, nails, or wood glue to fasten the components of the lifting blocks together securely. Reinforce joints to prevent loosening or separation during use, ensuring the blocks remain stable and safe for lifting players.
Smooth Surfaces
Sand down rough edges or surfaces on the lifting blocks to minimize the risk of splinters and injuries during handling. Smooth surfaces make it easier to grip the blocks securely during lineout lifts.
Test for Stability
Before use, conduct thorough testing to ensure the homemade lifting blocks are stable and capable of supporting the weight of players. Test different lifting scenarios to verify the blocks’ reliability and safety in various situations.
Consider Portability
If you anticipate needing to transport the lifting blocks for training or matches, design them with portability in mind. Add handles or lightweight for easy carrying and positioning on the field.
Customization for Team Identity
Consider customizing the lifting blocks with team colors, logos, or other identifiers to enhance team unity and pride. While aesthetics are secondary to functionality, personalized blocks can contribute to team morale.
By incorporating these tips into constructing your homemade lifting blocks, you can create safe, reliable, and effective equipment that supports your rugby team’s training and match-day preparations.
FAQs
What materials are best for making lifting blocks for rugby?
Sturdy wood, such as oak or maple, is ideal for homemade lifting blocks. Ensure it’s capable of bearing weight and withstands repeated use. Alternatively, durable plastics can also be suitable for constructing lifting blocks.
How do I ensure my homemade lifting blocks meet rugby regulations?
Familiarize yourself with the regulations governing lineout lifting equipment. Measure your blocks carefully to meet the required dimensions.
Ensure materials used comply with safety standards. Additionally, consider consulting with coaches or officials for guidance on compliance.
Can I personalize my homemade lifting blocks?
Yes, you can personalize lifting blocks to reflect team identity. Consider painting them in team colors or adding logos or player numbers.
While aesthetics are secondary to functionality, customization can foster team unity and pride.
What tools do I need to make lifting blocks for rugby?
Essential tools include a saw for cutting wood, a drill for making holes, and screwdrivers or hammers for assembly.
Sandpaper or electric sanders are necessary for smoothing surfaces. Depending on the design, clamps and measuring tools may also be required.
How do I ensure the stability and safety of homemade lifting blocks?
Reinforce joints with screws, nails, or wood glue to ensure stability—smooth surfaces with sandpaper to prevent splinters and injuries.
Test the blocks for stability under load before use. Adhere to proper construction techniques and ensure compliance with safety standards.
Wrapping Up
Constructing homemade lifting blocks for rugby requires careful attention to detail, adherence to regulations, and a focus on safety and functionality.
You can create effective lifting blocks that enhance training and match-day preparations by selecting durable materials, following proper construction techniques, and ensuring compliance with rugby regulations.
Personalization options also allow for team identity to be incorporated, fostering unity and pride among players.
With the right tools and techniques, homemade lifting blocks can be a valuable addition to any rugby team’s equipment arsenal, contributing to improved performance on the field. Thank you very much.


