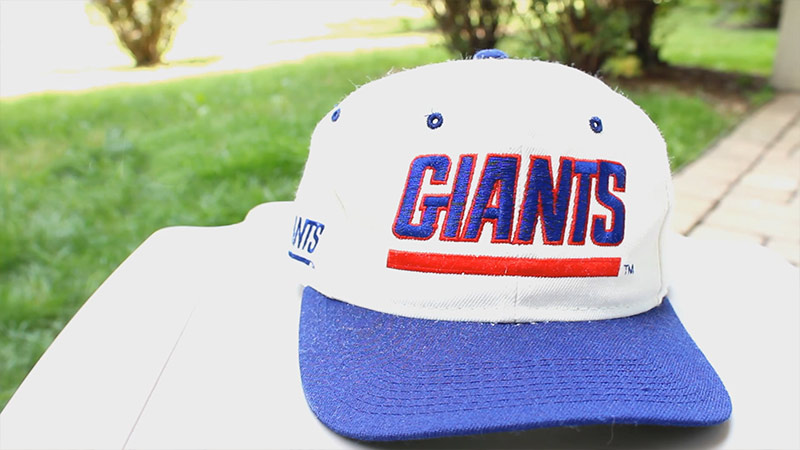
A premium baseball cap is more than a mere accessory; it is a foundational element of a curated wardrobe, often carrying significant sentimental or financial value.
Whether it is a limited-edition drop, a vintage find, or a reliable daily staple, the silhouette of a cap defines its character. However, improper storage, travel, or moisture exposure can lead to unsightly wrinkles and a loss of structural integrity.
When a cap loses its form, it no longer sits correctly on the head, detracting from a polished appearance. Fortunately, the art of headwear restoration is accessible to anyone with the right tools and a bit of patience.
By understanding the relationship between heat, moisture, and fabric tension, you can return a crushed crown or a creased visor to its original factory condition.
This comprehensive guide explores professional-grade techniques to eliminate wrinkles, reshape crowns, and flatten visors, ensuring your headwear remains a centerpiece of your collection for years to come.
The Science of Fabric Relaxation: Why Caps Wrinkle
To fix a wrinkled baseball cap effectively, one must first understand the materials involved. Most modern caps are constructed from cotton twill, polyester blends, or wool.
These fibers are held together by bonds that, when subjected to pressure or humidity, can “lock” into new, unwanted shapes—resulting in creases.
The fundamental principle of restoration involves using steam or water to relax these fabric fibers.
Once the fibers are softened, they become pliable, allowing you to stretch out the creases and reshape the material. The final step is the “set,” where the material dries completely in its proper shape to ensure the restoration is permanent.
Method 1: The Professional Steaming and Shaping Technique
Steaming is arguably the most effective and safest method for restoring a hat’s crown without risking the shrinkage that can sometimes occur with full submersion.
It allows for precision and keeps the internal buckram (the stiff fabric behind the front panels) from becoming overly saturated.
Step 1: Targeted Heat Application
Begin by using a clothing steamer or a steam iron. It is crucial to maintain a safe distance to protect the integrity of the fabric and any embroidered logos.
Hold the device several inches away from the wrinkled areas, allowing the warm mist to penetrate the fibers. You will notice the fabric becoming softer and slightly damp to the touch.
Step 2: Creating Internal Tension
Once the fabric is sufficiently relaxed, you must provide a “skeleton” for the hat to conform to. Stuff the inside of the cap firmly with a rolled clean towel, plastic bags, or even paper.
The goal is to create enough internal pressure to push out the fabric from the inside, mimicking the shape of a head.
Step 3: Manual Reshaping
With the hat stuffed, use your hands to massage and smooth the heated fabric against the internal stuffing.
This tactile approach allows you to work out specific stubborn creases that the steam alone might not reach. Pay close attention to the seams and the “pinch” of the crown.
Step 4: The Setting Phase
Consistency is key to a long-lasting fix. You must allow the hat to dry completely while it remains stuffed.
If you remove the stuffing while the fabric is still damp, the fibers may contract and re-introduce minor wrinkling. Once bone-dry, the hat will hold its smooth, restored shape.
Method 2: The Soak and Wear Method for a Custom Fit
For caps that have suffered severe deformation—perhaps after being crushed in a suitcase or soaked in a rainstorm—a more intensive approach is required.
The “Soak and Wear” method is favored by enthusiasts who want a cap that molds perfectly to their specific head shape.
Step 1: The Warm Water Submersion
The first step is to submerge the entire cap in warm water. Five minutes is generally sufficient to ensure that the water has moved beyond the surface and thoroughly dampened all materials, including the internal structure.
Warm water is more effective than cold at breaking the hydrogen bonds in the fibers, making the reshaping process more efficient.
Step 2: Removing Excess Moisture
After the five-minute soak, remove the cap and gently shake off any excess water. Avoid wringing or twisting the hat, as this can damage the internal visor board or tear delicate stitching. The cap should be damp, not dripping.
Step 3: The Custom Mold
Place the damp cap directly onto your head or onto a dedicated round form. If you choose to wear it, the fabric will mold naturally back to the specific contours of your head as it dries.
This creates a “bespoke” fit that is often more comfortable than a brand-new hat. If the cap is slightly too small, this is also an excellent time to gently stretch the band.
The Art of Visor Restoration: Fixing a Creased Brim
The visor (or brim) is the most prominent structural element of a baseball cap. A bent or creased visor can make even a clean hat look neglected. Whether you prefer a perfectly flat brim or a classic curve, the following steps will help you achieve a professional finish.
Step 1: Surface Protection
Before applying direct heat to the visor, you must protect the outer fabric. Place a clean white cloth or towel over the brim while the hat is on a flat surface.
This prevents the iron from leaving “scorch marks” or a shiny residue on the material, which is especially common with synthetic blends.
Step 2: Precision Pressing
Using a steam iron on a low-to-medium setting, press gently down on the protected brim. Ensure you are applying plenty of steam.
The moisture travels through the cloth and into the visor’s internal board, making it pliable.
Step 3: Setting the Silhouette
Depending on your style preference, flatten the brim or curve it into the desired position.
To ensure the visor stays in this new position, place a heavy book or a similar weight on top of it. The weight must remain in place until the material cools completely. This “cold set” is what prevents the brim from springing back to its wrinkled state.
Advanced Insights for Long-Term Maintenance
Restoring a hat is a valuable skill, but prevention is the ultimate strategy for a high-quality collection. Implementing a few professional storage habits can eliminate the need for frequent steaming.
- Proper Storage: Never stack hats on top of one another in a way that crushes the lower crowns. Use dedicated “hat trees” or individual cubbies.
- Climate Control: Avoid leaving hats in hot cars or damp basements. Extreme heat can shrink the sweatband, while humidity encourages the very wrinkles you are trying to avoid.
- The Travel Hack: When packing a hat in a suitcase, fill the crown with socks or undergarments. This serves the same purpose as the “stuffing” method, providing an internal structure that resists external pressure from other luggage.
Troubleshooting Common Restoration Challenges
Even with the best techniques, certain materials require extra care.
Dealing with Wool
Wool is a protein fiber and is more sensitive to heat than cotton or polyester. When steaming a wool cap, use the lowest effective heat setting and ensure the hat is completely dry before wearing it to prevent it from stretching out of shape.
Synthetic “Memory”
Some high-performance polyester caps have a “memory” in the fabric. These may require multiple steaming sessions to fully remove deep-set creases.
Patience is essential; it is better to perform three gentle sessions than one aggressive session that might melt the synthetic fibers.
Protecting the Buckram
The buckram is the stiffening agent in the front of structured (A-frame) caps. If you get the buckram too wet during the “Soak and Wear” method, it can become soft and lose its “pop.” If you find the front panels are sagging, use the steaming method with extra stuffing to rebuild that vertical tension.
Conclusion: The Value of Care
A well-maintained baseball cap is a testament to an individual’s attention to detail. By mastering the use of steam to relax fibers, utilizing internal stuffing for structure, and properly pressing the visor, you can keep your headwear looking pristine.
These methods not only save you the cost of replacing damaged goods but also allow you to maintain the “perfect” fit you’ve worked hard to achieve.
Whether you are preparing for a high-stakes meeting, a casual weekend, or simply preserving a piece of history, these restoration techniques ensure your cap remains a point of pride rather than a source of frustration.