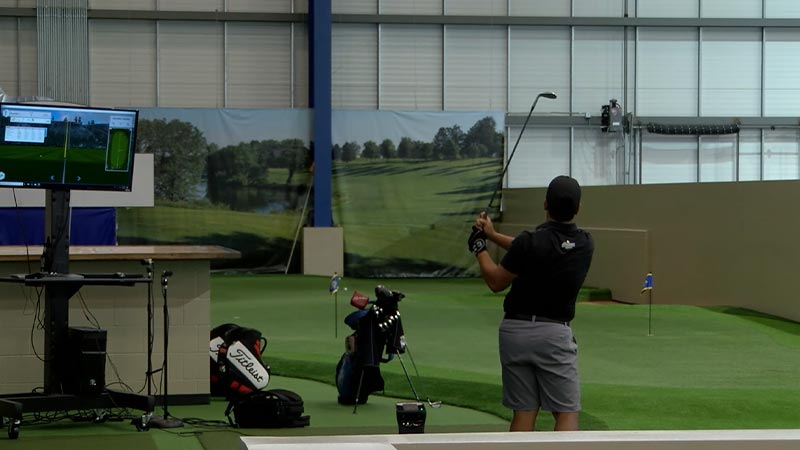
Have you ever dreamt of perfecting your golf swing without leaving the comfort of your home? If so, building a putting green in your basement might be the perfect project for you.
It’s not just an excellent way to hone your skills; it also provides endless entertainment. Who wouldn’t love a little friendly competition with friends and family at home?
Before we dive into the how-to’s, let’s first understand what this project entails. Building a putting green indoors isn’t as daunting as it may sound; with some essential tools, quality materials, and patience, you could set up your golf practice area quickly.
So get ready – I will guide you through this exciting DIY endeavor! With careful planning and execution, you’ll soon be sinking those putts like never before from the confines of your cozy basement.
The Basics of a Basement Putting Green
Building a basement putting green demands careful consideration of space, typically requiring 15 by 6 feet minimum plus extra for swing clearance.
Unlike natural grass, synthetic turf, like polypropylene, is favored for its resilience and low upkeep. Illumination is crucial; overhead lights or floor lamps counteract dimness.
A base layer, commonly rubber granules or foam padding, mimics outdoor terrain for realistic ball bounce. Meticulous planning and material selection are essential for crafting a functional and enjoyable indoor putting experience.
Finally, don’t forget about slope creation! Adding breaks and undulations will make your practice sessions more challenging but ultimately beneficial for improving your game.
- Space: Minimum 15ft x 6ft plus swing room
- Material: Synthetic grass or polypropylene turf
- Lighting: Adequate overhead or floor lamps
- Base Layer: Rubber granules/foam padding
- Slope Creation: For an added challenge
Choosing the Right Materials for Your Indoor Golf Area

Selecting the appropriate materials for indoor putting green is crucial to ensure an enjoyable and realistic playing experience. Here are key considerations:
Turf Selection
Opt for artificial grass that closely replicates the feel and playability of real golf course greens. Nylon turf is a popular choice for its durability and realistic characteristics.
Underlying Padding
The padding beneath the turf influences ball roll and bounce. Invest in high-quality closed-cell foam pads to ensure excellent shock absorption and moisture resistance.
Cups and Flags
For authenticity, use regulation-size cups (4 ¼ inches in diameter) and consider custom flags to personalize your indoor golf area.
Lighting
Adequate lighting is essential for visibility. Install professional-grade overhead lighting fixtures to ensure optimal brightness and visibility for accurate putting.
By carefully selecting materials that mirror outdoor conditions and investing in quality components, you can create an indoor golf area that provides a realistic and enjoyable experience.
Remember: while there’s no one-size-fits-all approach when selecting materials for an indoor putting green project, these tips should point you in the right direction toward creating an enjoyable golfing environment right at home!
Step-by-Step Guide to Building Your Own Putting Green
Dreaming of practicing your golf swings without leaving the comfort of your home? You’re in luck because I’m about to guide you through a step-by-step process for building your own and putting green in your basement.
First off, let’s start with the materials you’ll need. Here’s a quick rundown:
- Artificial turf (choose one that suits your personal preferences and budget)
- Padding or underlayment
- A utility knife
- Tape measure
- Straight edge
- Double-sided tape or glue
- A cup and flag
You’ve got everything ready? Good! Let’s start.
Measure and Cut the Turf
Start by measuring the space where you want to install your putting green. Make sure it’s big enough for comfortable play but not so large it overwhelms your basement!
Once you’ve measured the ideal size, cut your artificial turf accordingly using a utility knife guided by a straight edge.
Lay Down Padding
Next, lay down some padding on the floor. This will be an underlayment for our putting green, offering cushioning and simulating real-life playing conditions.
It doesn’t have to be too fancy – even gym mats or carpet padding can work fine.
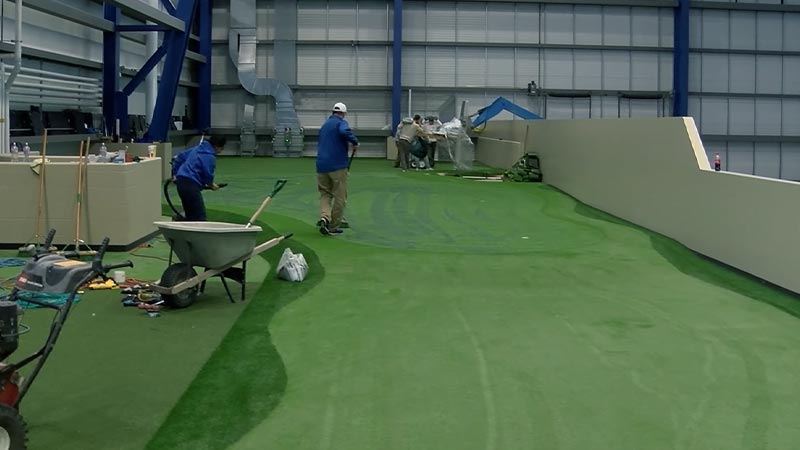
Install The Turf
Now comes the fun part – installing the turf itself! Roll out your artificial grass over this padded surface, ensuring it covers every inch of the intended area. Use double-sided tape or glue along its edges to keep it firmly in place.
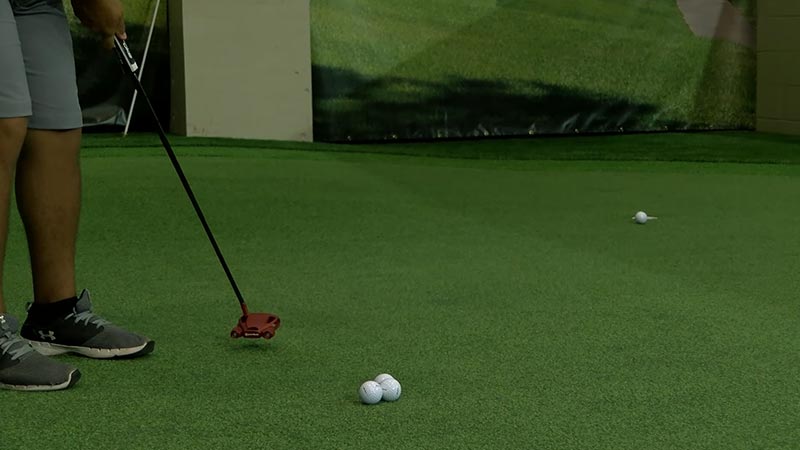
Set up The Cup and Flag
Lastly, we’ll add finishing touches – setting up the cup and flag. Decide where you want them located, then fix them into position on the turf.
And there you have it, folks – a DIY guide for creating your indoor putting green! Remember, perfection isn’t achieved overnight; take time adjusting things till you’re satisfied with the look and feel of your new golf haven. It’s all part of the fun!
Maintenance Tips for Your Basement: Putting Green
Keeping your basement green and in top condition doesn’t have to be a chore. With these easy maintenance tips, you’ll ensure the longevity of your indoor golf haven.
Firstly, let’s talk about cleaning. It’s vital to keep your putting surface free from debris and dust, which could affect the ball’s roll.
A simple brush or vacuum cleaner with a gentle setting will do the trick here. Remember, consistency is key – aim for a quick clean once a week.
Next up, let’s focus on turf care. If you’ve opted for synthetic grass – which I highly recommend for basement settings – there are a few things to bear in mind:
- Keep it dry: Although artificial turf can handle some moisture, excessive water can cause damage over time.
- Avoid direct sunlight: UV rays can fade your green over time.
- Watch out for foot traffic patterns: Overuse in certain areas can lead to wear and tear.
Regarding equipment upkeep, remember that putters should be stored upright when not in use to prevent warping. Golf balls should also be regularly inspected and replaced if they show signs of wear.
Lastly, don’t forget about maintaining an optimal environment around your green – proper lighting and room temperature play crucial roles, too!
Optimal temperature ranges from 65-70 degrees Fahrenheit, while adequate lighting ensures clear visibility during practice sessions.
With these tips, I’m confident you’re fully equipped to maintain a high-quality basement putting green!
In Summary: Enjoying Your Home-Made Golf Paradise
What a journey it’s been! We started with an unassuming basement and turned it into a golfer’s paradise.
Whether you’re working on your short game or need some stress relief after a long day, this homemade putting green is sure to please.
Look around your new golf haven. You’ve built this yourself, which makes every swing even more satisfying. Remember those initial design sketches? They’ve come alive right in front of you. And the best part? It didn’t break the bank.
Now that you’re all set up, let me share some tips to make the most out of your home-made golf paradise:
- Practice Regularly: Consistency is key in golf. Make sure to dedicate specific time each week for practice.
- Mix Up Your Practice Routine: Don’t just aim straight every time! Try various angles and distances to keep things exciting and challenging.
- Keep It Clean: Maintain your turf by vacuuming regularly and deep cleaning at least once a year.
You can also invite friends for some friendly competition or host mini-tournaments at home!
Before I wrap this up, here are some numbers that highlight our journey together:
| Stages | Time (in hours) |
|---|---|
| Design & Planning | 4 |
| Material Gathering | 3 |
| Construction | 10 |
So we’ve spent roughly 17 hours creating this unique space for less than $500 – now that’s impressive!
In conclusion, there’s no better feeling than seeing your vision come to life – especially when that vision allows for countless hours of fun indoors while refining your putt skills.
Remember, Rome wasn’t built in a day, but with patience, hard work, and these guidelines, you’ve built something spectacular inside your home!


