Pitching is a fundamental aspect of baseball, and a skilled pitcher can significantly impact the outcome of a game.
Whether you’re a beginner learning the basics or an experienced pitcher looking to refine your skills, understanding the art of throwing different pitches and developing command and control is essential.
We will also address common pitfalls, troubleshooting techniques, and injury prevention strategies to ensure that you can overcome challenges and maintain your performance on the mound.
How to Throw Baseball Pitches: Learn in 4 Steps
To learn to throw Baseball Pitch, you need to go through only 4 simple steps. But remember, mastering the steps needs practice and effort.
1. Grip
Fastball
The fastball is the most basic and essential pitch in baseball. It is also the fastest pitch, with speeds ranging from 90 to 100 mph.
To throw a fastball, you need to grip the ball with your index and middle fingers across the seams, and your thumb underneath.
You should keep your wrist straight and your elbow high as you bring your arm forward. You should release the ball with a snap of your wrist and fingers, aiming for the middle of the plate.
Curveball
The curveball is a pitch that breaks down as it approaches the plate, making it hard for the batter to hit. To throw a curveball, you need to grip the ball with your index and middle fingers on the inside of a seam, and your thumb on the opposite seam.
You should bend your wrist inward and keep your elbow low as you bring your arm forward. You should release the ball with a downward flick of your wrist and fingers, creating a topspin that makes the ball curve.
Slider
The slider is a pitch that breaks laterally as it approaches the plate, making it look like a fastball until it moves away from the batter.
To throw a slider, you need to grip the ball with your index and middle fingers on the outside of a seam, and your thumb on the opposite seam. You should keep your wrist slightly bent and your elbow high as you bring your arm forward. You should release the ball with a sideways flick of your wrist and fingers, creating a sidespin that makes the ball slide.
Changeup
The changeup is a pitch that looks like a fastball but is much slower, making it difficult for the batter to time their swing. To throw a changeup, you need to grip the ball with your index and middle fingers on either side of a seam, and your thumb underneath.
You should hold the ball deep in your palm and keep your wrist relaxed as you bring your arm forward. You should release the ball with a gentle push of your fingers, maintaining the same arm speed as a fastball but reducing the velocity.
Knuckleball
The knuckleball is a pitch that has very little spin and moves unpredictably in the air, making it hard for both the batter and the catcher to handle.
To throw a knuckleball, you need to grip the ball with your index finger and thumb on either side of a seam, and your middle finger on top of another seam.
You should hold the ball lightly with your fingernails and keep your wrist stiff as you bring your arm forward. You should release the ball with a push of your fingernails, creating no spin or very little spin.
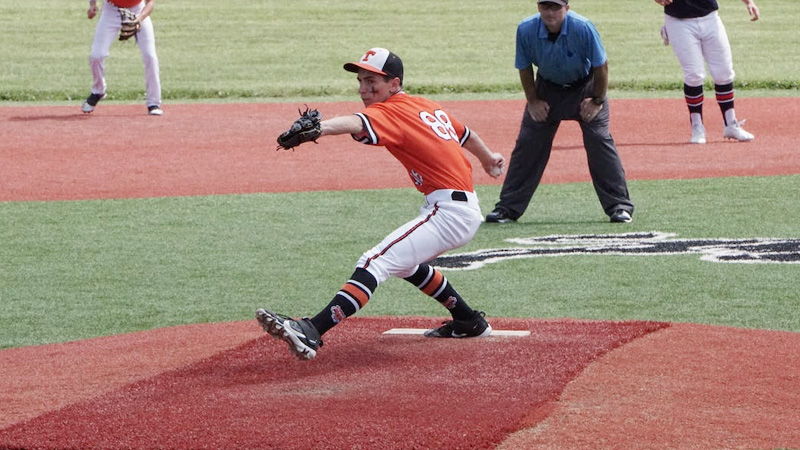
2. Windup and Delivery
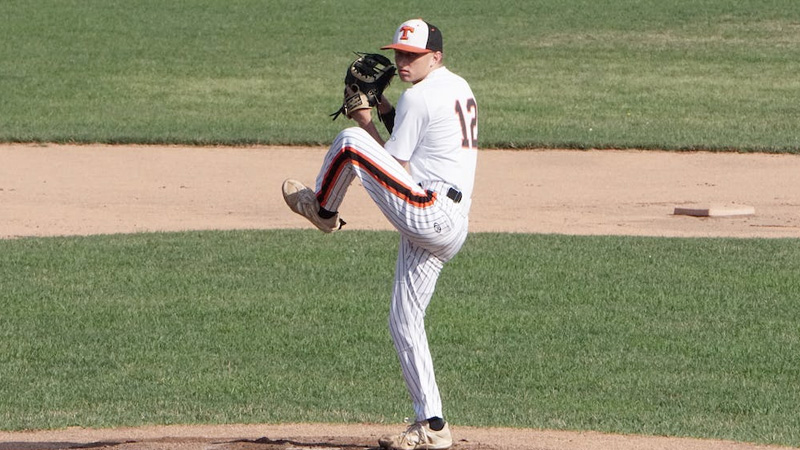
The windup and delivery are fundamental aspects of pitching. Here’s a simplified breakdown:
- Starting Position: Stand on the pitching rubber with your feet shoulder-width apart. Hold the ball comfortably in your glove, and face the batter.
- Windup: Lift your front leg while keeping your hands together near your chest. As your leg reaches its peak, begin your pitching motion.
- Stride: As your leg comes down, take a step forward with your lead foot. Your stride should be controlled and not overly long, aiming for a consistent release point.
- Arm Action: Bring your throwing arm back and up, cocking it behind your head. Maintain a smooth and fluid motion while avoiding unnecessary tension.
- Release: Extend your arm forward, releasing the ball at the appropriate point depending on the pitch. Aim for a consistent release point for improved accuracy.
3. Mechanics and Follow-through
Proper mechanics are essential for maximizing velocity, control, and reducing the risk of injury.
Here are some key points to remember
- Balance: Maintain good balance throughout your delivery. Keep your weight evenly distributed between your legs and avoid leaning too far to one side.
- Lower Body Engagement: Utilize your lower body for power and stability. Drive off the rubber with your back leg, transferring energy through your hips and core.
- Arm Slot: Find a comfortable and repeatable arm slot that works for you. Consistency in your arm slot allows for better accuracy and deception.
- Follow-through: After releasing the ball, continue your throwing motion. Focus on finishing with a balanced and controlled follow-through, bringing your back leg forward.
4. Practice and Feedback

Regular practice is crucial for improving pitching skills. To enhance your abilities, seek feedback from knowledgeable sources like coaches or experienced players.
They can provide valuable insights and correct any errors in your technique. Additionally, consider using video analysis to assess your performance and identify areas for improvement.
Practice drills that focus on specific aspects of pitching, such as accuracy, velocity, or pitch selection. By incorporating targeted practice and actively seeking feedback, you can fine-tune your skills and make significant progress as a pitcher.
Common Pitfalls and Troubleshooting
Some usual pitfalls and troubleshooting factors are mentioned in the following part. Go through them with extra care.
Addressing Common Pitching Mechanics Issues
- Timing and rhythm: Troubleshoot issues related to timing and rhythm in the delivery, which can affect command and control.
- Balance and alignment: Identify and correct problems with balance and alignment during the delivery that can lead to inconsistency and lack of control.
- Arm slot and release point: Analyze and adjust the arm slot and release point to ensure the proper release and maximize pitch effectiveness.
Overcoming Mental Obstacles and Building Confidence
- Developing a routine: Establish a pre-pitch routine that helps you focus and maintain mental clarity on the mound.
- Visualization and positive self-talk: Use visualization techniques to see yourself succeeding and employ positive self-talk to build confidence and overcome mental obstacles.
- Learning from mistakes: Embrace failures as opportunities for growth and learning, rather than letting them negatively impact your confidence.
Dealing With Fatigue and Maintaining Pitch Effectiveness
- Physical conditioning: Maintain a regular strength and conditioning program to build endurance and prevent fatigue.
- Proper rest and recovery: Prioritize rest and recovery to allow your body to recuperate and avoid overuse injuries.
- In-game adjustments: Develop strategies to conserve energy and adjust pitch selection as fatigue sets in to maintain effectiveness on the mound.
Injury Prevention and Proper Arm Care Routines
- Warm-up and stretching: Implement a thorough warm-up routine before pitching to prepare your arm and body for the demands of the game.
- Proper throwing mechanics: Focus on proper throwing mechanics to reduce stress on the arm and minimize the risk of injuries.
- Regular strength and conditioning: Incorporate a strength and conditioning program specifically targeting the muscles used in pitching to maintain arm health and prevent injuries.
- Listen to your body: Pay attention to any signs of discomfort or pain and seek appropriate medical attention if necessary. Rest and recovery are crucial for injury prevention.
It’s important to continuously assess and adjust various aspects of their game to ensure long-term success and reduce the risk of injuries.
FAQs
What are some common mechanical issues that pitchers face?
Common mechanical issues include poor timing, balance problems, misalignment during the delivery, and inconsistent release points.
How can I overcome mental obstacles and build confidence as a pitcher?
Building confidence involves developing routines, practicing visualization techniques, working on positive self-talk, and focusing on the process rather than the outcome.
How can I deal with fatigue and maintain pitch effectiveness throughout a game?
Managing fatigue involves proper physical conditioning, including endurance training and strength exercises. In-game adjustments, such as pitch selection and varying speeds, can also help maintain effectiveness despite fatigue.
What are some essential practices for injury prevention and arm care?
Injury prevention and arm care practices include following a structured warm-up routine, incorporating stretching and mobility exercises, maintaining proper pitching mechanics, incorporating strength training exercises specific to pitchers, and listening to your body for signs of fatigue or discomfort.
Conclusion
Developing the skills and techniques necessary to become an effective pitcher is a journey that requires dedication, practice, and a willingness to continuously learn and improve.
If you want to learn the basics or are an experienced pitcher seeking to refine your skills, the knowledge and techniques outlined in this guide serve as a foundation for your continuous development.
Embrace the challenges, stay resilient, and enjoy the journey of becoming the best pitcher you can be. Thank you for your time.


