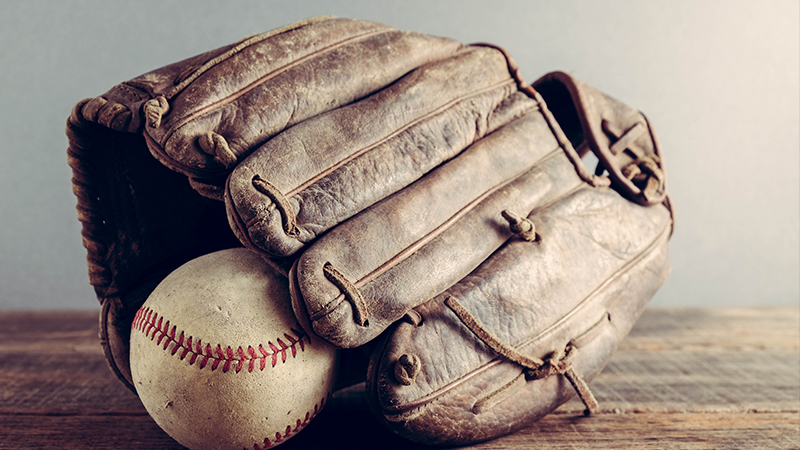
Finding an old baseball glove tucked away in a wooden cellar or a dusty garage can feel like discovering a piece of personal history.
However, time and poor storage conditions are often unkind to leather. Whether you have unearthed a stiff, dried-out relic or a “floppy” glove that has lost its shape, the restoration process is a blend of patience, proper technique, and the right supplies.
While some may suggest simply heading to a sporting goods store to buy a new one, many players prefer the feel of a well-worn, high-quality piece of equipment.
This guide will walk you through the comprehensive process of deep cleaning, conditioning, and reshaping your glove to get it back into game-ready condition.
Initial Assessment: Can Your Glove Be Saved?
Before investing time and money into restoration, you must evaluate the glove’s potential. Not all gloves are candidates for a successful revival.
Quality vs. “Cheap” Models
The quality of the original leather is the primary factor in determining the success of your restoration. High-quality leather gloves are designed to be resilient and can often be brought back to life even after years of neglect.
Conversely, “cheap” gloves made from lower-grade materials or synthetic blends may not respond well to conditioning and might never regain the structural integrity needed for comfortable play.
The “Floppy” vs. Stiff Dilemma
A common issue with old gloves is that they were worn until they became “floppy” and then dried out in that state.
Experts note that a glove in this condition may never truly hold a pocket again; it will likely return to its overly soft, floppy state once the leather is moisturized.
On the other end of the spectrum, gloves that are hard and stiff from storage require significant agitation and deep conditioning to become supple once more.
The Risk of Cracking
The greatest danger to an old glove is leather cracking or splitting. Much like old leather boots, if a glove has become too brittle, the restoration process itself might cause the leather to break.
If you see deep structural cracks in the palm or fingers, the glove may be better suited for display than for practice.
Gathering Your Restoration Kit
To do the job correctly, you will need a few specific items. Using the wrong products can lead to heavy, greasy leather or long-term degradation.
- Cleaning Agents: Saddle soap is the gold standard for removing embedded grime.
- Conditioners: Look for high-quality products like Sarna Glove Conditioner, Ball Players Balm, or specialized glove oil.
- Tools: A soft-bristled toothbrush for agitation, several clean rags or towels, and warm water.
- Structural Supplies: A baseball or softball, and heavy-duty rubber bands or twine.
- Relacing Kit: An Amazon relacing kit (typically around $15) is essential if the old laces are brittle or broken.
Step 1: The Deep Clean (The Saddle Soap Method)
You cannot properly condition a glove that is covered in years of dirt. The first step is to “start with a clean slate.”
The Agitation Process
Begin by dipping a brush into warm water and rubbing it onto the saddle soap. Use a toothbrush to scrub the leather, focusing on agitating the surface to pull dirt and grime out of the pores. This is especially important for the seams and the “well” of the pocket, where dirt tends to settle.
Wipe and Repeat
As you scrub, you will see a lather form that carries the dirt away. Continually wipe the glove down with a clean, dry towel or rag to remove the dirty suds. It is vital not to let the dirty water soak back into the leather.
Drying Time
Once the glove is clean, do not immediately apply oil. Let the glove air dry overnight. Avoid using artificial heat sources like hair dryers or heaters, as these can cause the leather to shrink and crack.
Step 2: Conditioning and Reviving the Leather
Once the glove is clean and dry, it is time to restore the oils that have evaporated over time.
The Application
Apply a small amount of your chosen conditioner or oil to a rag and work it into the leather. Treat the glove like you would treat high-end leather shoes, applying the product in thin, even layers.
The Danger of Over-Oiling
One of the most common mistakes in glove restoration is over-conditioning. Whatever you do, do not over-oil the glove, as this will make the leather excessively heavy and “floppy”.
The goal is suppleness, not saturation. Some restorers recommend a “clean then dry, then oil” sequence to ensure the moisture is trapped correctly.
Specific Recommendations
Products like Ball Players Balm are highly regarded by the community for improving the condition of thrift-store finds and neglected equipment. These specialized balms are designed to penetrate the leather without adding unnecessary weight.
Step 3: Advanced Restoration (Relacing)
The laces are the “skeleton” of the baseball glove. Often, the leather of the glove is fine, but the laces have become brittle and are prone to snapping.
The Relacing Workflow
For a truly professional restoration, you should consider replacing the entire unit. The best workflow is to remove the old laces first, then wash and condition the glove while the leather pieces are separate. This allows you to reach the “insides” of the leather that are usually hidden by the webbing and fingers.
DIY Kits
You don’t need to be a professional to replace a glove. Relacing kits are readily available online for about $15 and include the necessary tools to thread the new leather strips through the existing holes.
Adding new, stiff laces can often provide the structural support a “floppy” glove needs to hold its shape again.
Step 4: Reshaping and Setting the Pocket
An old glove often loses its “memory.” You must teach the leather how to close properly again.
The Ball-and-Band Method
To re-form the pocket, place a baseball or softball exactly where you want the “sweet spot” to be. Close the glove around the ball and encase it in rubber bands or tie it shut with twine.
Letting it Sit
Allow the glove to sit in this bound state for several days. This encourages the leather to “set” in a curved position, making it easier to squeeze during a game.
The “Old School” Debates: Water, WD-40, and Shaving Cream
In the world of baseball, there are several “secret” methods passed down through generations. Some are effective but high-risk.
The Soaking Method
Some players advocate for dropping the glove into a bucket of water for a full day with a ball inside, then letting it dry and applying shaving cream.
However, many experts strongly advise against soaking the glove in water or oil, as it can ruin the internal padding and permanently damage the leather’s fibers.
The Shaving Cream Trick
Using cheap foam shaving cream is a traditional method for breaking in and softening gloves. Proponents suggest working the foam deep into the leather.
While this can soften the glove quickly, modern conditioners are generally considered safer for the long-term health of the leather.
The WD-40 “Secret”
There is an “old secret” among some players to rub the glove down with WD-40. While some claim they are “surprised what happens” in terms of immediate softening, this is a controversial method that most professional restorers avoid due to the harsh chemicals involved.
Conclusion: Final Maintenance and “Working” the Glove
The final and most important step in reconditioning an old glove is to use it. Once the cleaning and conditioning are complete, the best way to finish the process is to play catch.
The heat and pressure from your hand, combined with the impact of the ball, will help the glove mold to your specific grip.
Restoring an old glove is a rewarding DIY project that can save you money and provide a piece of equipment with character.
By using saddle soap for cleaning, high-quality balms for conditioning, and new laces for structure, you can transform a cellar find into a reliable tool for the diamond.
If, after all these steps, the glove still feels brittle or fails to hold a pocket, it may be time to retire it to the trophy shelf and invest in a new one. But for many, the effort to “revive the leather” is a tribute to the game itself.