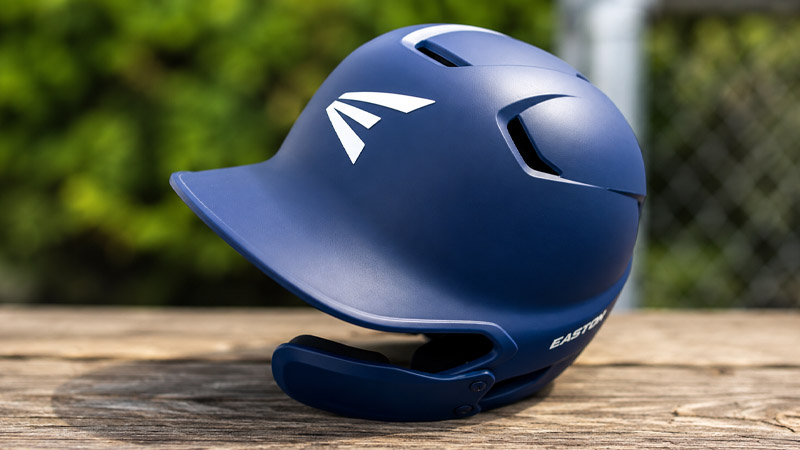
Stepping up to the plate requires focus, confidence, and absolute trust in your equipment. Whether you are a parent outfitting a young T-ball player, a competitive youth league athlete, or an adult playing in a recreational hardball league, your batting helmet is the single most important piece of protective gear you own.
Yet, many players overlook the precise science of helmet sizing. An ill-fitting helmet can shift during a sprint down the baseline, slide over your eyes when tracking a high fly ball, or—worst of all—fail to absorb the impact of an errant pitch.
In this comprehensive guide, we break down everything you need to know about measuring your head accurately, understanding manufacturer size charts, performing safety checks, and avoiding common fitting mistakes. Let’s ensure you step into the batter’s box fully protected.
Why Proper Baseball Helmet Sizing Matters
Safety in baseball is non-negotiable. Modern batting helmets are marvels of sports engineering, designed to disperse kinetic energy and protect the skull and facial structure from high-velocity impacts.
However, these safety mechanisms only function as intended when the helmet fits snugly and securely against your head.
The Dangers of an Incorrect Fit
- Too Loose: A helmet that is too large will wobble or twist during quick movements. If a player takes a pitch to the head, a loose helmet can rotate, leaving critical areas of the skull exposed to direct impact.
- Too Tight: Conversely, a helmet that is too small creates excessive pressure points, leading to tension headaches, fatigue, and distraction during high-pressure plate appearances.
- The “Room to Grow” Trap: A common mistake among parents is buying a larger helmet so a growing child can use it for multiple seasons. An oversized helmet compromises immediate safety and fails the standard fit tests.
Tools Needed for Measurement
Before you begin measuring, gather the proper tools to ensure accuracy. Guesswork has no place in sports safety equipment.
- Flexible Cloth Measuring Tape: This is the gold standard. A soft tailor’s tape easily conforms to the contours of the skull.
- Alternative Method (String and Ruler): If you do not have a flexible cloth tape, use a piece of string or a shoelace to wrap around your head, mark the exact overlap point, and then measure that length flat against a standard rigid ruler or yardstick.
- A Mirror or Assistant: While you can measure your own head, having a teammate, coach, or parent help keep the tape level makes the process much more precise.
Step-by-Step Instructions: How to Measure Your Head?
Measuring your head for a baseball helmet takes less than two minutes, but doing it correctly requires following a specific anatomy-based approach.
Step 1: Position the Tape Correctly
Start by removing any hats, caps, or bulky headbands. Ensure your hair is pressed flat. Place the zero end of the flexible tape measure on the center of your forehead, approximately 1 inch to 2 inches above your eyebrows (roughly one finger-width above the brow line).
Step 2: Wrap Completely and Levelly
Pull the tape flat around the circumference of your head. Make sure the tape remains entirely level and parallel to the ground. It should pass:
- Directly across your temples.
- Right over the top of the tips of your ears.
- Across the most prominent bump (the occipital protuberance) at the back of your head.
Step 3: Record and Repeat
Note where the tape measure overlaps. Read the measurement in both inches and centimeters to give yourself maximum flexibility when reviewing brand charts.
Pro Tip: Measure your head twice to ensure consistency. If the two measurements differ slightly, take the average or record the larger number to guarantee comfort.
General Sizing Reference Chart
Batting helmet sizing varies slightly depending on the manufacturer (such as Rawlings, Easton, or Wilson), but general industry standards—modeled after comprehensive retail guidelines—offer a reliable starting point.
How to Evaluate and Test the Fit
Once your helmet arrives and you try it on, do not rely on numbers alone. Perform these three critical physical checks before stepping onto the diamond.
1. The Brow Line Check
With the helmet resting on your head, check the front brim. It should sit completely level and rest roughly one finger-width above your eyebrows.
If the helmet tilts too far backward, exposing your forehead, or slides forward to obscure your vision, the sizing or internal padding requires adjustment.
2. The Shake Test
Buckle your chin strap (if applicable) and shake your head vigorously from side to side and up and down.
- A properly fitted helmet should move with your skin, staying firmly anchored to your head.
- If the helmet shifts independently, rotates, or wobbles while your head remains still, the shell is too large.
3. Padding and Pressure Points
Check for even contact. The internal padding should press evenly against your forehead, crown, and the back of your head without digging into specific bony spots.
Keep in mind that many advanced helmets feature removable or adjustable padding systems, allowing you to fine-tune the internal dimensions for a customized feel.
Specialized Considerations for Baseball Helmets
When shopping for your next helmet, keep these additional factors in mind to ensure optimal performance and league compliance:
Jaw Extensions (C-Flaps)
Many modern youth and adult leagues permit or mandate facial protection extensions (often called C-Flaps or jaw guards) on the side facing the pitcher.
If you are adding an aftermarket extension, ensure it does not alter the balance or weight distribution of the helmet in a way that causes it to tilt.
NOCSAE Certification
Always verify that any helmet you purchase carries the NOCSAE (National Operating Committee on Standards for Athletic Equipment) stamp. This certification guarantees that the equipment meets rigorous safety standards for competitive play.
Dual-Flap vs. Single-Flap
Ensure you select a dual-flap helmet if you switch sides of the plate frequently or play in leagues that mandate dual-ear protection. Single-flap helmets are generally reserved for specific advanced or professional levels.
Frequently Asked Questions
What should I do if my head measurement falls right between two sizes?
If your head measurement bridges the gap between two sizes on a brand’s chart, always size up and utilize adjustable padding kits or fitted skull caps to dial in the snugness. Alternatively, look for brands that offer half-sizes or adjustable-fit dial systems.
Can I wear a baseball cap underneath my batting helmet?
It is strongly discouraged. Wearing a baseball cap adds unnecessary bulk and alters how the helmet’s inner padding interacts with your skull, which can compromise the security of the fit during an impact.
How often should a baseball helmet be replaced?
A batting helmet should be replaced immediately if it sustains a severe impact from a high-velocity pitch or a hard collision on the basepaths.
Even without a major impact, standard wear and tear, ultraviolet light degradation, and foam breakdown mean helmets should typically be inspected annually and replaced every three to five years.
Conclusion
Finding the right baseball helmet size is a straightforward process that pays massive dividends in safety, comfort, and peace of mind.
By taking a few moments to measure your head accurately with a flexible tape, cross-referencing manufacturer specifications, and performing rigorous fit tests, you set yourself up for success every time you step into the batter’s box.
Equip yourself properly, focus on your mechanics, and play your game with total confidence.