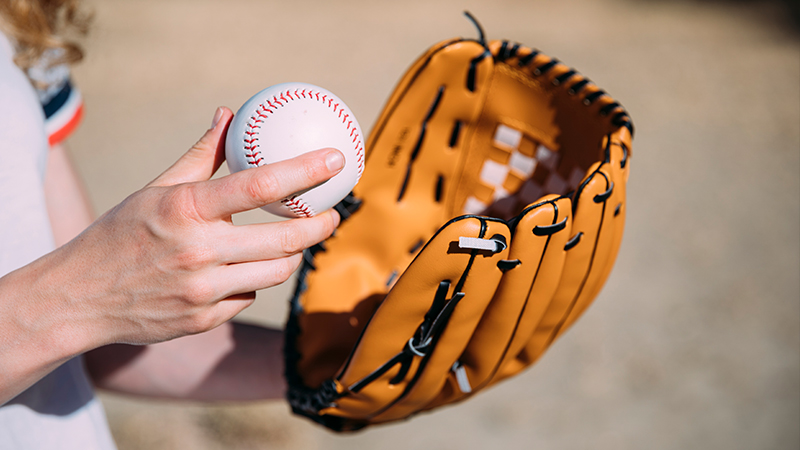
In the world of high-stakes athletics, your equipment is an extension of your body. For a baseball player, particularly an infielder, the glove is not just a tool; it is a precision instrument.
However, a common frustration arises once that premium leather—like the legendary Wilson A2000 1786—is finally “broken in.” The very process that makes the glove supple also causes the laces to stretch, leading to a loose, unresponsive fit.
This comprehensive guide serves as your executive briefing on glove lacing architecture. We will move beyond simple repairs to explore the “why” and “how” of professional-grade maintenance, ensuring your gear meets the standards of a world-class athlete.
The Foundation: Why Finger Stall Tension Dictates Defensive Success
The search for the “perfect fit” often leads players to professional “glove guys,” but for the elite performer who values autonomy and immediate feedback, mastering the DIY tighten is essential.
When the gap between your finger stalls widens, you lose tactile feedback. A loose glove requires more muscular effort to close, leading to “clanging” balls and slower transition times from glove to hand.
The Search Intent: DIY vs. Professional
Most players search for this topic because they want to avoid the $20–$50 service fee and the week-long turnaround time of a professional relacer.
By understanding the semantic cluster of glove maintenance—tension, friction, lacing patterns, and leather conditioning—you can achieve a custom fit in twenty minutes at home.
Anatomy of the Elite Glove: The Wilson A2000 1786 Case Study
To tighten a glove effectively, you must first understand its skeleton. The Wilson A2000 1786 is one of the most popular patterns in baseball history, and it features a specific lacing design that is common across many high-end infield models.
- Single-Lace Architecture: On a 1786 model, a single piece of lace typically runs all the way from the pinky to the thumb across the top of the finger stalls.
- The Pivot Point: The lacing often terminates or begins at the top corner of the pinky. Understanding this “starting line” is the key to sequential tightening.
The Executive Tool Kit: What You Actually Need
While some suggest “YouTube-ing it” as the primary tool, a strategic approach requires the right physical implements.
- Needle-Nose Pliers: Essential for gripping slick or high-friction laces.
- Professional Lacing Tool (Optional but Recommended): While a screwdriver can suffice, a $20 pull tool is a worthwhile investment for those maintaining multiple gloves.
- High-Grade Conditioner: Small amounts of glove conditioner or even Vaseline can reduce friction, making it easier to pull laces through tight holes without causing a snap.
- Warm Water: A “pro secret” for dealing with stiff, newish lace is lightly dampening it with warm (not hot) water to increase pliability.
Step-by-Step Execution: Tightening the Finger Stalls
This process requires a combination of force and finesse. You are not just pulling strings; you are reshaping leather.
Step 1: Locating and Freeing the Anchor
Begin by identifying the knots that secure the finger run. These are typically located at the base of the fingers or on the top corner of the pinky or thumb. Carefully untie the knot at the pinky tip to free the lace.
Step 2: The Sequential Pull (The Pinky-to-Thumb Method)
Do not simply pull the end of the lace and hope for the best. You must work the slack through the system:
- Start at the Base: Grab the lace at the bottom of the first finger stall.
- Pull Upwards: Pull the slack tight, moving up through each hole toward the top of the finger.
- Repeat Across the Hand: Proceed to the next finger, pulling the excess lace through each section until the desired tightness is achieved.
Step 3: Managing High-Friction Laces
If you are working with a newer glove where the leather is still “gritty,” you may encounter significant resistance. In these cases, it is often easier to start at the web/index finger and tighten one finger at a time, pulling the slack toward the pinky where the excess can be tied off.
Step 4: The Web Coil Transition
As you work your way across, be mindful of where the finger lace transitions into the web coils. Stop when you reach this area, as over-tightening the finger stalls can inadvertently distort the web’s shape.
Advanced Maintenance: Beyond the Laces
A Fortune 500-level athlete knows that the glove is a system. Tightening the fingers is only half the battle.
The Wrist Adjustment
If the glove still feels unstable on your hand, the issue may be the wrist closure. Remove the wrist lace, start from the bottom, and re-thread it tightly before securing it with a firm knot. This creates a “locked-in” feel that prevents the glove from shifting during high-velocity plays.
Conditioning for Longevity
Dry, hard leather is the enemy of performance. To reduce rigidity and prevent lacing snaps, apply conditioner to the laces before tightening. This ensures the leather remains supple enough to absorb the impact of 90+ mph exit velocities.
Securing the Final Result
Once the desired tension is achieved, re-tie the knots—typically a square knot or a box knot—tightly against the leather. Critical Tip: Do not trim the excess lace immediately. Keep some extra length; as you play, the glove will continue to settle, and you may want that “tail” for future adjustments.
Integration: How Equipment Maintenance Fuels Performance
In the same way that a CEO analyzes every department to optimize a corporation, a ballplayer must look at their entire game. Maintaining your glove is a “technical improvement,” but it must be paired with physical and mental training.
Technical Synergies: Batting and Fielding
They use technical improvements that extend to the batter’s box. Just as you tune your glove for a perfect fit, you must ensure your bat is properly fitted to your swing.
- Bat Speed and Power: Utilize tools like the Camwood trainer to increase hand speed.
- Swing Technique: Focus on using your whole body to generate power, rather than just your arms.
- The Mental Edge: Stay decisive in your approach; every “shot” or play should have a specific intent behind it.
Physical Training for the Modern Player
Your ability to use a tightened, high-performance glove is limited by your physical baseline.
- Core and Legs: Strengthening your lower half is the primary driver of both hitting power and defensive range.
- Video Analysis: Just as you might record your glove-tightening process to learn the pattern, record your swing to pinpoint technical mistakes.
Enhanced FAQ: Troubleshooting Your Glove Tune-Up
Q: Will I break my laces if I pull too hard?
A: It is highly unlikely you will break newish or well-maintained lace. High-quality leather lace is designed to withstand significant tension. However, if the lace is dry or cracked, condition it first.
Q: Can I use a screwdriver instead of a lacing tool?
A: Yes, a flathead screwdriver can help push or pull laces through, but be extremely careful not to puncture the leather stalls or scratch the palm.
Q: How often should I tighten my finger stalls?
A: This depends on your frequency of play. Professional-level players may “tune” their laces every few weeks during the season, while casual players may only need an annual adjustment.
Q: Is it worth buying a $200+ glove like an A2000?
A: High-end gloves offer better materials and more predictable lacing patterns, making them easier to maintain and “tune” over several seasons. They are a long-term investment in your defensive performance.
Conclusion: The Competitive Advantage of Ownership
Mastering the art of tightening your own finger stalls is a rite of passage for the serious ballplayer. It transforms you from a mere consumer of equipment into a technician of your own craft.
By following this sequential, data-backed approach, you ensure that your Wilson A2000 or preferred model remains a surgical tool on the diamond.
Next Steps for the Elite Player:
- Audit Your Gear: Check your finger stall gaps today. If you can fit more than a sliver of light between the fingers, it’s time to tighten.
- Invest in Quality: Purchase a dedicated lacing tool and a premium conditioner.
- Practice the Pattern: Don’t wait for a championship game to find out your laces are loose.
Your glove is your livelihood on the field. Treat it with the same precision and care you bring to your swing and your strength training. Tighten the gap, and you’ll tighten your game.