A balance beam is a great way to have fun and keep your balance while playing sports. It’s also a great way to work on your coordination and strength. Making one yourself is easy if you have some basic tools and supplies.
Source: youtube
How To Make A Baseball Balance Beam
A balance beam is a great way for kids to learn about basic physics. It is also a fun activity for adults to do together. Here’s how to make one: Purchase a balance beam from your local store or online.
Measure the distance from one end of the beam to the other, and then cut the beam to size. Attach the beam to one end of a post, and attach the post to another post. Level and paint the beam if desired.
Purchase A Balance Beam
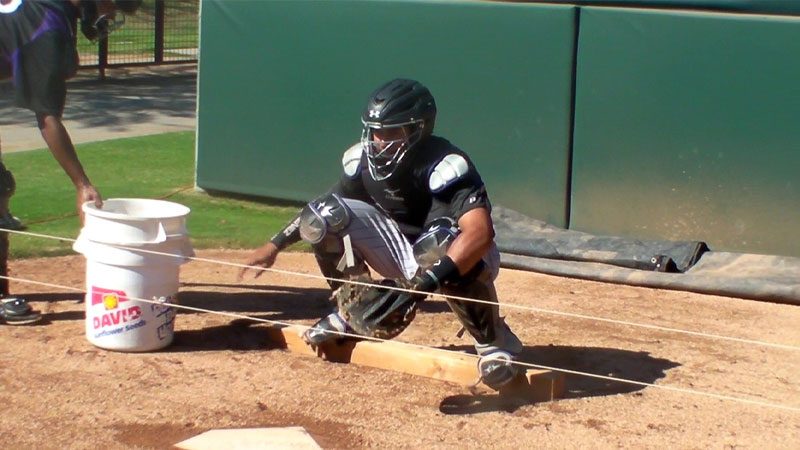
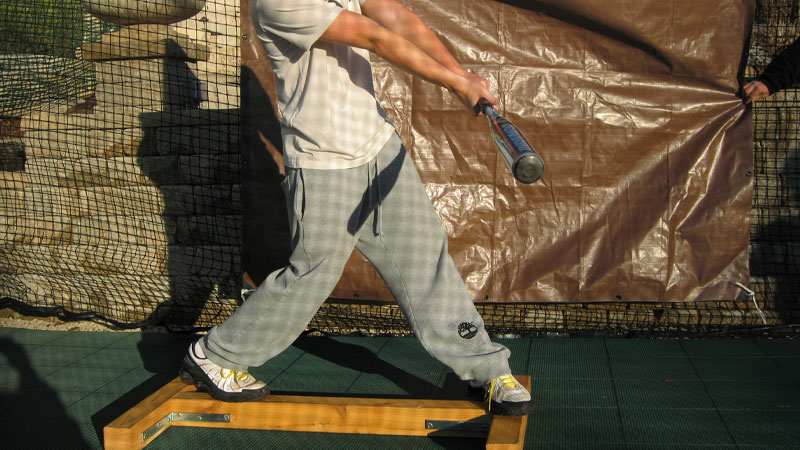
If you want to get into baseball, you’ll need a balance beam. This is a piece of equipment that helps players stay upright while they swing the bat. You can purchase one or build your own, but be sure to check the specs before you buy.
Get A Balance Beam
The first step is to get a balance beam. A balance beam is an essential piece of equipment for learning how to throw a baseball correctly. It helps you develop your arm and hand-eye coordination, which are essential for throwing a ball accurately.
Choose The Right Size
When choosing a balance beam, make sure to select the right size for your needs. There are different types of balance beams available, from small portable models to large stationary ones. Choose the one that is right for your training goals and needs.
Get The Right Material
Balance beams can be made out of wood, metal, or plastic. Make sure to choose the right material based on your training needs and preferences. Wooden and metal balance beams are the most popular options because they offer durability and good weight distribution.
But if you don’t care about appearances or you plan on using your balance beam outdoors, plastic is a better option because it doesn’t rust or corrode.
Assembly Is Crucial
Before you start using your balance beam, make sure to assemble it properly by following the instructions included with the product. This will ensure that the structure is stable and resists wear and tear during use.
Regular Maintenance Is Vital
It is important to keep your balance beam in good condition by performing regular maintenance tasks such as cleaning and lubricating it as needed. This will help ensure that it lasts longer and provides you with consistent performance.
Source: baseballcoaching
Measure The Distance From One End Of The Beam To The Other
If you want to make a baseball balance beam, the first thing you’ll need is some wood. You can use any kind of wood, but you’ll need two pieces that are at least 30 inches long and 1 inch in diameter.
Next, mark where the end of one piece of wood will be placed. Next, measure the distance between the two marks and cut the wood accordingly. Finally, place the end of the second piece of wood on top of the first piece and screw it into place.
- To accurately make a baseball balance beam, you will need to measure the distance from one end of the beam to the other. This is important because it will determine how wide the beam should be.
- Make sure that the distance between the two ends of the beam is consistent throughout its length. If it varies significantly, this can cause problems with your balance and accuracy when making throws.
- It is also important to make sure that the endpoints of the beam are level and perpendicular to each other. If they are not, you may end up throwing off your balance and accuracy when playing baseball.
- You will also want to make sure that the surface on which you are standing is stable and level so that you do not experience any wobbles or movement while making your throws.
- Finally, always use a spirit level when measuring the distance between ends of a balance beam in order to ensure accurate results.
Cut The Beam To Size
If you want to make a baseball balance beam, you’ll need to cut the beam to size. Start by measuring the distance between the top of the beam and the ground. Then use a saw to cut the beam in that location. Make sure that the depth of your cuts is equal both on the top and bottom of the beam.
Cut the Beam to Size
To make a baseball balance beam, you’ll need to cut the beam to size. The dimensions of the beam will depend on the size of the baseballs that you want to use. Make sure that the beam is big enough so that the balls can fall off of it without hitting the ground.
Drill Holes
Drill holes in the top and bottom of the beam so that it can support your weight. You’ll also need to drill holes in each side of the beam so that you can attach it to your stand. Make sure that your stand is sturdy enough so that it doesn’t collapse under the weight of the beam.
Secure Beam With Bolts
Secure the beam with bolts by screwing them into place through the holes that you drilled in it. Make sure that you tighten these bolts until they’re tight – too much slack in a bolt can cause it to break catastrophically.
Add Balls
Now add balls to the top of the beam and let them fall down towards the bottom. Be careful not to hit yourself in head with a ball while you’re doing this! Once all of the balls have fallen off, you can remove them from the beam and enjoy your new baseball balance beam!
Source: youtube
Attach The Beam To One End Of A Post
Making a baseball balance beam is a fun activity for kids and can be done in just a few minutes. All you need is a post, some string and a ball.
To make the beam, tie one end of the string to the post and ball the other end. Aim the ball at the middle of the string and let go. The ball will fly off towards the post, balancing on the beam while you hold on to the other end of the string.
Mark the Location of the Beam on the Post
The beam should be attached to one end of a post so that it is in equilibrium with the weight at the other end. This will ensure that the beam is level and stable during your project.
Drill a Hole Through the Beam and Post
Drilling through the beam and post will allow you to secure it together using screws or nails. Make sure that you drill through both pieces of wood equally, otherwise your beam may not be level.
Connect The Nails or Screws to Prevent It from Moving
Once you have drilled and secured your beams, you will need to connect them together using screws or nails so that they are stable and do not move around.
Attach The Post To Another Post
If you want to make a baseball balance beam, attaching the post to another post is the first step. Mark where the post will be located on the other post and drill a hole through both posts.
Drive a bolt through the hole in the first post and into the hole in the second post. Tighten the bolt to ensure that the balance beam is secure.
Also Read – How Does Down Under Board Work?
Level And Paint
Balance beams are a fun and easy way to add some balance and stability to your painting project. To make one, you will need a wooden dowel, a level, painters tape, and paint.
Drill a hole at the top of the dowel so that it can fit over the end of your level. Tape the dowel in place on the level and then paint it to match your project. When you’re finished painting, take off the tape and enjoy your new balance beam.
To Recap
Making a balance beam is a fun way to exercise your mind and body. The balance beam is easy to make and can be customized to fit any age or ability level. You will need a few simple supplies, and the entire project should take around an hour.
Be sure to enjoy your new balance beam.