A loose golf club head can wreak havoc on your game, affecting accuracy and power. In our comprehensive guide, we’ll walk you through the step-by-step process of fixing a loose golf club head, ensuring your equipment stays in top-notch condition.
From gathering the right tools to applying epoxy and using a torque wrench, we’ve got you covered. Discover the essential steps to reattach your club head securely, allowing you to swing with confidence and precision on the course.
Whether you’re a seasoned golfer or just starting, mastering this maintenance skill will enhance your overall golfing experience and keep your clubs performing at their best.
What Causes Reglue Golf Club Head?
It seems like there might be a slight typo in your question. If you are asking about regluing golf club heads, it typically occurs when the adhesive that attaches the club head to the shaft weakens or fails.
This can happen due to various reasons:
- Normal Wear and Tear: Over time, the adhesive used in the manufacturing process may degrade due to exposure to the elements, moisture, and general use of the golf club.
- Extreme Temperatures: Exposure to extreme temperatures, especially heat, can weaken the adhesive over time.
- Misuse or Abuse: If a golfer frequently hits the ground with the club or uses excessive force, it can contribute to the breakdown of the adhesive bond.
- Moisture Exposure: Clubs left in damp or wet conditions for extended periods may experience deterioration of the adhesive.
- Manufacturing Defects: In some cases, a defect in the manufacturing process or materials could lead to a weakened bond.
To reglue a golf club head, the old adhesive needs to be cleaned off, and a new adhesive, typically epoxy, is applied to create a strong bond between the shaft and the club head.
It’s a common maintenance procedure for golf clubs, especially for those that see a lot of use.
If you’re not comfortable doing this yourself, it’s advisable to take the club to a professional club repair shop or contact the club manufacturer for guidance.
Signs of Golf Club Head Loose
If a golf club head is loose, it can significantly impact your swing and the performance of the club. Here are some signs that may indicate a loose golf club head:
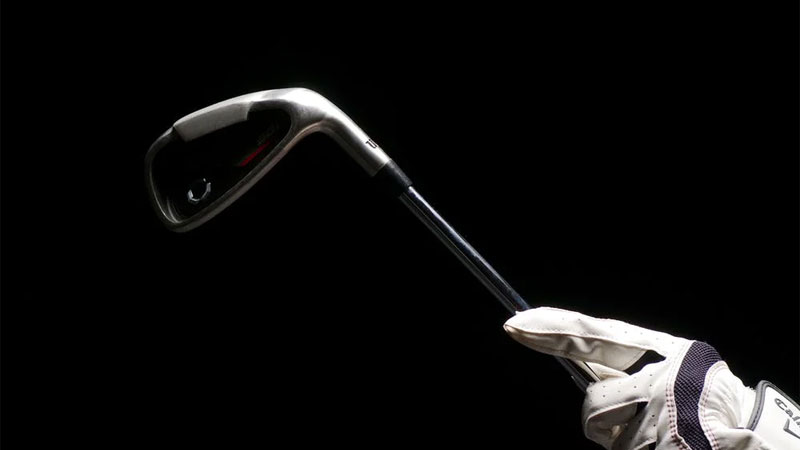
Visible Movement
Check the connection between the club head and the shaft. If you notice any wobbling or movement at the joint, it’s a clear sign that the head is loose.
Strange Sounds
A loose club head can produce unusual sounds during your swing. Listen for any rattling or clicking noises, especially at the point where the head and shaft meet.
Inconsistent Shots
If you’re experiencing inconsistency in your shots, such as a loss of accuracy or distance, it could be due to a loose club head affecting the transfer of energy from your swing to the ball.
Visible Gaps or Misalignment
Inspect the joint between the club head and the shaft. If you see any gaps or notice that the alignment is off, it could be an indication of a loose connection.
Loss of Feel: A golfer often develops a feel for their clubs over time. If you sense a change in the feel or responsiveness of the club during your swing, it may be due to a loose head.
Sudden Changes in Performance
If you suddenly experience a drop in performance without any changes in your swing or technique, it’s worth checking the club head for any signs of looseness.
If you suspect that your golf club head is loose, it’s essential to address the issue promptly to prevent further damage and maintain optimal performance.
Take the club to a professional club repair shop or contact the club manufacturer for assistance in reattaching the head securely to the shaft.
Attempting to play with a loose club head can lead to more significant problems and may even result in the head detaching during a swing, causing safety hazards and potential damage to the club.
Tools and Materials: How to Tighten Driver Head
Tightening the head of a driver requires specific tools and materials to ensure a secure and effective fix. Here’s a list of tools and materials you might need:
Torque Wrench
A torque wrench is crucial for ensuring that you tighten the club head to the manufacturer’s recommended specifications.
Different drivers may have different torque requirements, so check your club’s specifications or contact the manufacturer for the correct torque setting.
Socket or Wrench
You’ll need the appropriate socket or wrench that fits the screw or bolt holding the club head to the shaft. Drivers commonly use a torque wrench with a socket that matches the driver’s hosel.
Epoxy Resin
If the head is loose due to a problem with the adhesive, you may need epoxy resin to reattach the head securely to the shaft. Make sure to use a high-quality epoxy specifically designed for golf club repair.
Solvent or Acetone
If you’re reattaching the head using epoxy, you’ll need a solvent like acetone to clean off any old epoxy residue from both the shaft and the inside of the hosel.
Cleaning Cloth
A clean cloth or rag will be useful for wiping away any debris or excess epoxy during the repair process.
Protective Gloves
It’s a good idea to wear protective gloves, especially if you’re working with epoxy or solvents. This helps prevent skin contact with potentially irritating substances.
Manufacturer’s Guidelines
Always refer to the manufacturer’s guidelines or contact them directly for specific instructions and torque settings.
Each club may have different specifications, and it’s essential to follow the recommended procedures to avoid damage.
Workbench or Stable Surface
Choose a stable and flat surface to work on, such as a workbench. This provides a secure platform for making the necessary adjustments.
Before attempting to tighten the driver’s head, it’s advisable to familiarize yourself with the specific instructions provided by the club manufacturer.
If you’re unsure or uncomfortable performing the repair yourself, consider taking the club to a professional club repair shop for assistance. They have the expertise and tools to ensure a proper and secure repair.
How to Fix a Loose Golf Club Head?
Fixing a loose golf club head is crucial for maintaining optimal performance and preventing further damage. Here’s a step-by-step guide on how to tighten a loose golf club head:
Step 1: Gather the Necessary Tools and Materials
Before starting the repair, ensure you have a torque wrench, the appropriate socket or wrench, epoxy resin, solvent or acetone, a cleaning cloth, and protective gloves.
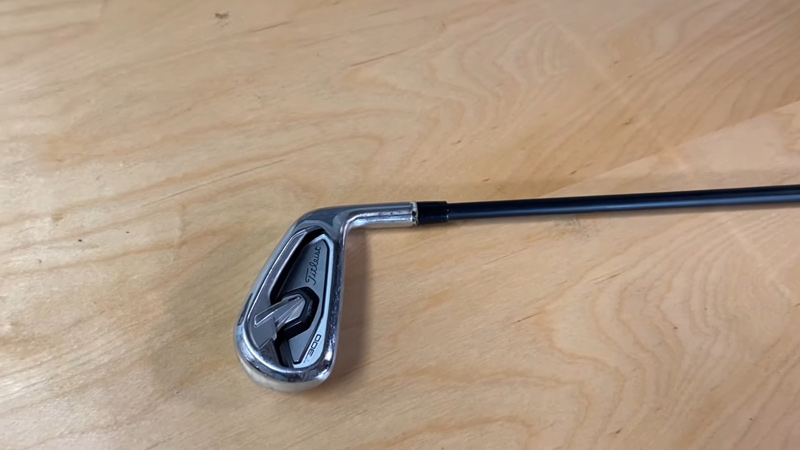
Step 2: Assess the Situation
Examine the club head for visible movement, strange sounds, or misalignment. Identify the cause of the looseness before proceeding.
Step 3: Remove the Club Head
If the head is completely detached or needs re-gluing, carefully remove it from the shaft using the appropriate wrench or socket. Be gentle to avoid further damage.
Step 4: Clean Surfaces
Clean both the inside of the hosel and the shaft with a solvent or acetone to remove any old epoxy residue. Wipe dry with a clean cloth.
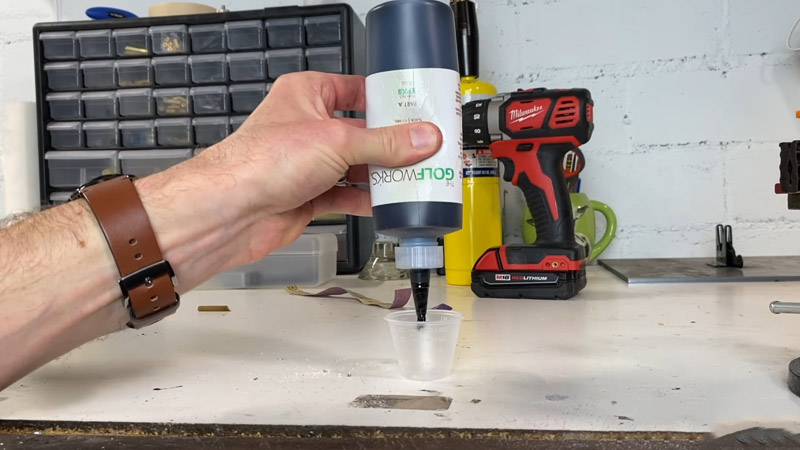
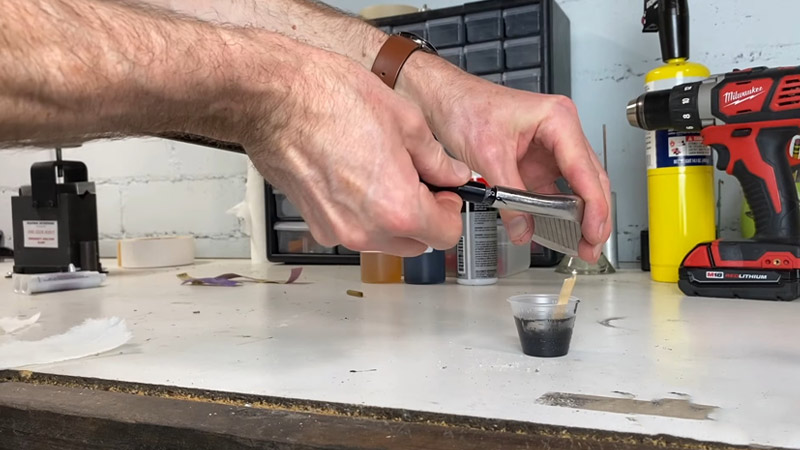
Step 5: Mix Epoxy Resin
Follow the instructions on the epoxy resin packaging to mix the adhesive thoroughly. Ensure you are using a high-quality epoxy designed for golf club repair.
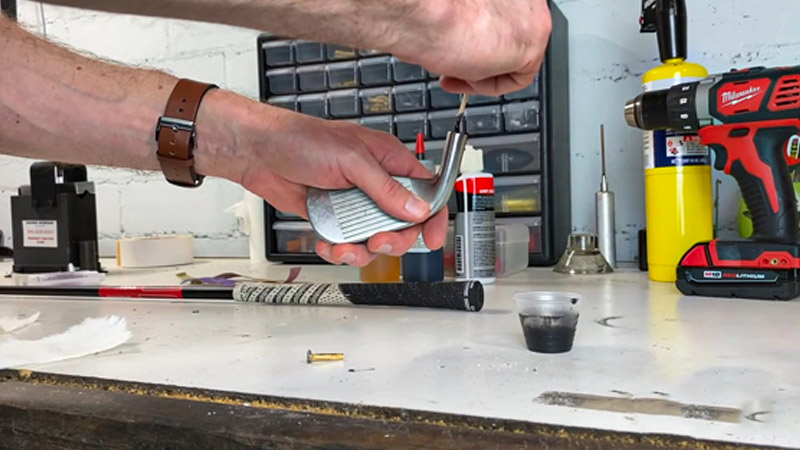
Step 6: Apply Epoxy
Apply a small amount of epoxy to the inside of the hosel. Be careful not to use too much, as excess epoxy can affect the club’s balance.
Step 7: Reattach the Head
Carefully place the club head back onto the shaft, aligning it correctly. Make sure the epoxy is evenly distributed inside the hosel.
Step 8: Hand-Tighten the Screw
Hand-tighten the screw or bolt that secures the head to the shaft. This ensures proper alignment before final tightening with a torque wrench.
Step 9: Torque to Specifications
Using a torque wrench, tighten the screw to the manufacturer’s specifications. Refer to the club’s manual or contact the manufacturer for the correct torque setting.
Step 10: Wipe Excess Epoxy
Wipe away any excess epoxy that may have squeezed out during the reattachment process. This helps maintain the club’s aesthetics.
Step 11: Allow to Cure
Let the epoxy cure according to the manufacturer’s recommended time. Avoid using the club until the epoxy has fully set to ensure a strong bond.
Step 12: Test the Club
After the epoxy has cured, test the club for stability by gently swinging it. Ensure there is no movement or unusual sounds.
By following these steps, you can effectively tighten a loose golf club head, restoring the club’s performance and longevity. If you’re uncertain about any step, it’s advisable to seek professional assistance to ensure a proper repair.
Preventive Maintenance Tips: Loose Driver Head
Preventive maintenance is key to ensuring the longevity and optimal performance of your golf clubs. Here are some tips to help prevent a loose driver head:
Regular Inspections
Perform regular visual inspections of your driver. Check for any visible signs of wear, such as cracks, loose connections, or misalignments. Pay attention to the hosel area and inspect the bonding between the head and the shaft.
Follow the Manufacturer’s Guidelines
Adhere to the manufacturer’s guidelines regarding club care and maintenance.
Refer to the club’s manual or contact the manufacturer for specific instructions on cleaning, storage, and any other recommendations to maintain the integrity of the club head connection.
Proper Storage
Store your clubs in a cool, dry place. Avoid leaving them in extreme temperatures, such as in a hot car or in direct sunlight for extended periods. Moisture and temperature variations can weaken the adhesive over time.
Avoid Misuse
Use your driver as intended. Avoid hitting the ground or any hard surfaces excessively, as this can lead to stress on the club head connection.
Additionally, refrain from using excessive force during your swings, as it can contribute to the loosening of the head.
Regular Cleaning
Clean your clubs after each round to remove dirt, grass, and debris. Use a soft brush or cloth to clean the club head and hosel.
This not only keeps your clubs looking good but also prevents the buildup of substances that could compromise the adhesive bond.
Check Torque Settings
Periodically check and ensure that the screws or bolts securing the club head to the shaft are tightened to the manufacturer’s recommended torque settings.
If you notice any loosening during play, address it promptly to prevent further damage.
Professional Inspection
Schedule periodic professional inspections. A club repair professional can assess your clubs for any signs of wear or damage that may not be immediately apparent.
They can also provide routine maintenance, such as regripping and checking the integrity of the club head connection.
By incorporating these preventive maintenance tips into your routine, you can significantly reduce the risk of experiencing a loose driver head and extend the life of your golf clubs.
Regular care and attention will help ensure that your equipment performs at its best when you’re out on the course.
FAQs
Why is my Callaway driver’s head loose?
If your Callaway driver head feels loose, it could be due to wear and tear, especially if you’ve been using it extensively. The bonding agent might have weakened, leading to the head feeling wobbly.
How to fix a loose golf club head?
To fix a loose golf club head, you’ll need to address the connection between the shaft and the head. If it’s an adjustable club, check for any screws or mechanisms that might have come loose.
For non-adjustable clubs, you may need to re-bond the head using the appropriate adhesive or consult a professional club repair service.
How to reattach a golf club head?
For reattaching a golf club head, you’ll need a solvent to remove any existing adhesive and then a compatible epoxy or bonding agent.
Carefully clean both the shaft and the head, apply the adhesive, and firmly press the head back onto the shaft. Ensure it’s aligned properly, then let it set as per the adhesive instructions.
How to tighten a driver’s head?
For tightening a driver head, particularly an adjustable one, check for any provided tools. Most adjustable drivers come with wrenches to tighten the head securely onto the shaft.
If it’s a non-adjustable club, and the head feels loose, consider professional help to re-bond it securely.
What to do when a golf driver’s head is loose?
If you notice your golf driver’s head is loose, it’s important not to continue using it as this might affect your swing and could potentially cause damage.
Assess the extent of the looseness, and if it’s a minor issue, tightening it with the provided tools might suffice.
For more significant problems, seek assistance from a club repair professional to reattach or fix it securely.
Wrapping Up
A secure and properly attached golf club head is crucial for a golfer’s performance. By following our detailed guide on fixing a loose golf club head, you’ll not only enhance your swing but also prolong the life of your cherished clubs.
Regular maintenance is the key to a consistent and enjoyable golfing experience. Remember to inspect, clean, and follow manufacturer guidelines to prevent issues before they arise.
Now armed with the knowledge to tackle a loose head, you can approach each round with confidence, knowing your equipment is in top shape. Happy golfing!