Embarking on the journey to black oxide a putter involves a meticulous process that goes beyond aesthetics, delving into the realms of chemistry and craftsmanship.
This transformative technique not only imparts a sleek, black finish to the putter but also enhances its resistance to corrosion.
The procedure demands careful preparation, attention to detail, and adherence to specific chemical and thermal guidelines.
From disassembling the putter to immersing it in carefully concocted solutions and applying controlled heat, each step plays a pivotal role in achieving a durable and visually appealing black oxide finish.
Join this journey of metallurgical artistry to elevate your putter’s performance and style.
Step-by-Step Guide on How to Black Oxide Putter?
Black oxide is a popular finish for putter refinishing DIYers, as it not only provides a sleek and stylish appearance but also offers some corrosion resistance.
Black oxide is a chemical conversion coating that forms a layer of black iron oxide on the surface of the putter. Applying black oxide to a putter requires careful preparation and attention to detail.
Here’s a general guide on how to refurbish a putter in black oxide:
Materials Needed:
- Putter Head
- Safety Equipment
- Cleaning Supplies
- Chemicals
- Containers
- Heat Source
Procedure:
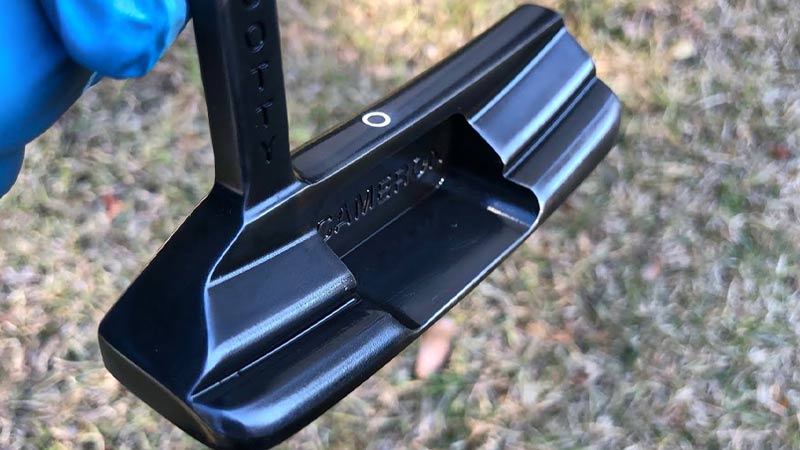
1. Prepare the Putter
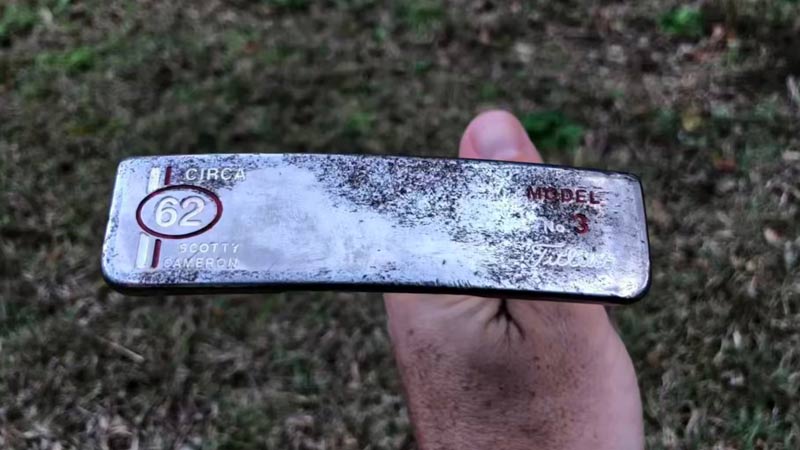
Before initiating the black oxide process, it’s essential to thoroughly prepare the putter. If the putter is comprised of various components, such as hosel, face insert, or alignment aids, consider disassembling them if possible.
This ensures that the black oxide treatment is applied uniformly to the entire putter head.
Additionally, clean the putter head meticulously, using a degreaser or mild detergent to remove any dirt, grease, or remnants of previous finishes. A completely clean surface is crucial for the success of the black oxide process.
2. Pre-Treatment
The pre-treatment phase is a crucial step in the black oxide process as it readies the metal surface for the subsequent blackening.
Immerse the putter head in the pre-treatment solution, following the manufacturer’s instructions regarding the recommended soaking time.
This solution serves to clean the surface further and may promote adhesion for the blackening agent. Proper attention to this step enhances the overall quality and durability of the black oxide finish.
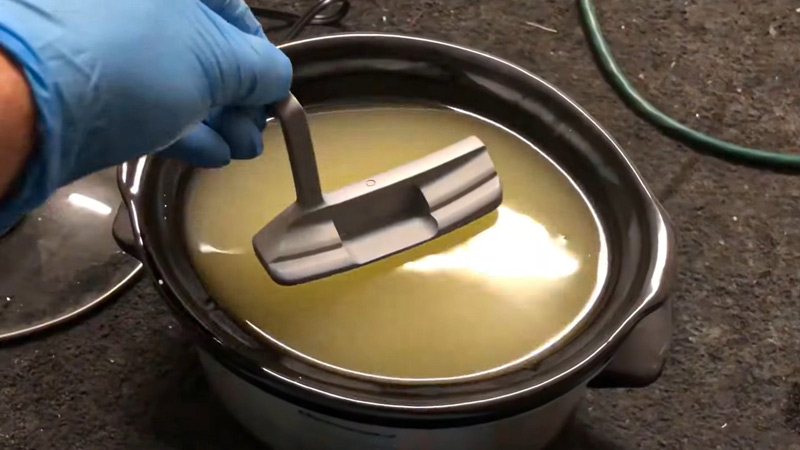
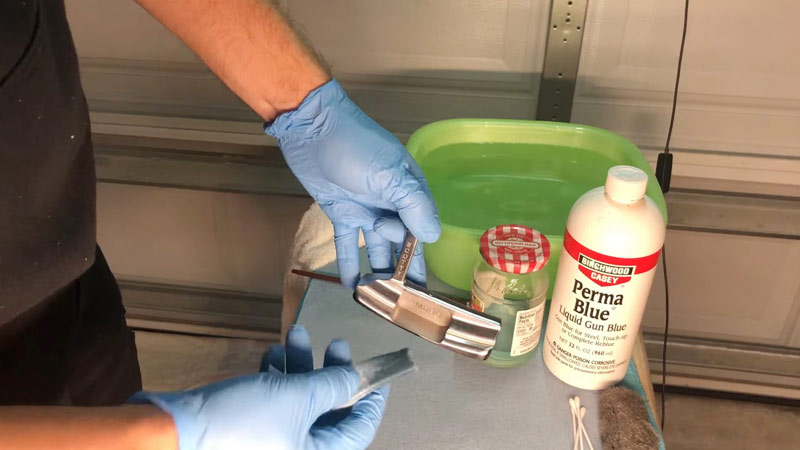
3. Blackening
The blackening step involves immersing the putter head in the blackening solution, which typically contains the chemicals necessary for the black oxide reaction.
Carefully follow the provided instructions to mix and apply the blackening solution. Achieving even coverage is crucial for a consistent and aesthetically pleasing finish.
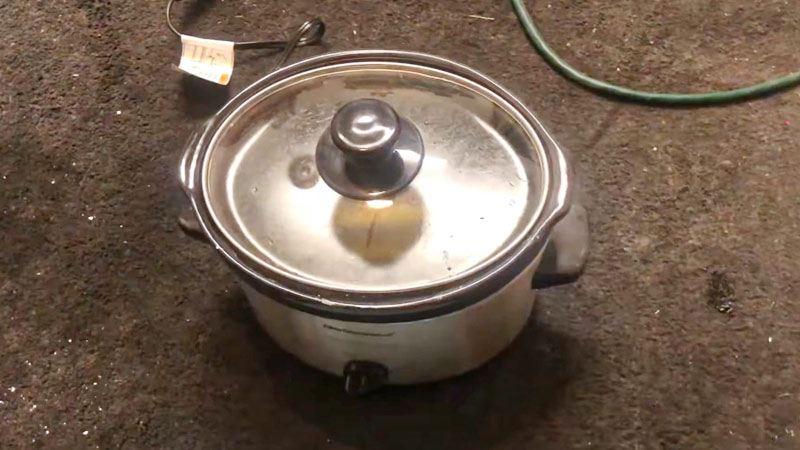
Submerge the putter head for the specified duration and simultaneously apply heat, either through a propane torch or an oven, according to the recommended temperature guidelines.
This combination of chemicals and heat facilitates the formation of the desired black oxide layer on the putter’s surface.
4. Neutralizing
After the blackening process, thorough rinsing is imperative to remove any remaining blackening solution from the putter head.
Subsequently, neutralize the surface using a neutralizing agent or a solution of baking soda and water.
This step is essential to halt the chemical reaction and prevent any residual effects that may compromise the longevity of the black oxide finish.
Proper neutralization ensures that the putter head is free from any lingering chemicals, promoting the stability of the blackened layer.
5. Sealing
The final step involves applying a sealing agent to the blackened putter head. The sealer serves multiple purposes, including protecting the black oxide finish from environmental factors, enhancing its durability, and potentially altering its appearance.
Allow the putter head to dry completely before reassembling the putter. The sealing process not only safeguards the aesthetics but also contributes to the longevity of the black oxide finish, ensuring that it maintains its sleek appearance over an extended period.
How to Paint a Putter Black
Painting a putter black is a common customization option for golfers who want to give their clubs a sleek and personalized appearance.
Here’s a general guide on how to paint a putter black:
Prepare the Putter
Before applying any paint, it’s crucial to prepare the putter surface properly. Disassemble the putter if possible, removing any non-metal components like grips or inserts.
Clean the putter head thoroughly to remove any dirt, grease, or existing finishes. Sand the surface lightly with fine-grit sandpaper to create a slightly rough texture, which helps the paint adhere better.
Masking
To ensure a clean and professional-looking finish, use masking tape or painter’s tape to cover any areas of the putter that you do not want to paint.
This includes the face, hosel, and any alignment aids or markings on the putter. Take your time with this step to achieve precise lines and prevent any accidental overspray.
Priming
Apply a thin coat of primer to the putter head. Primer helps the paint adhere better to the metal surface and provides a smooth base for the topcoat.
Choose a primer that is suitable for metal surfaces and follow the manufacturer’s instructions for application and drying times.
Applying the Black Paint
Select a high-quality black paint suitable for metal surfaces. Use a spray paint designed for golf club customization or a paint specifically formulated for metal.
Apply the paint in thin, even coats, holding the spray can about 6-8 inches away from the putter head.
Allow each coat to dry completely before applying the next one. Multiple thin coats are preferable to a single thick coat to prevent drips and achieve a smooth, even finish.
Drying and Curing
After applying the final coat of black paint, allow the putter head to dry thoroughly. Follow the drying time specified by the paint manufacturer.
Once dry, it’s advisable to let the putter cure for an additional period to ensure the paint fully hardens and becomes durable. This may involve waiting a day or more before reassembling the putter.
Optional Clear Coat
For added protection and a glossy finish, consider applying a clear coat over the black paint. This step is optional but can enhance the durability of the paint job.
Choose a clear coat that is compatible with the black paint you used and follow the manufacturer’s instructions for application and drying.
Final Touches
Once the paint and clear coat (if used) are fully cured, carefully remove any masking tape.
Reassemble the putter, ensuring that all components are securely attached. Take a moment to inspect the paint job and make any necessary touch-ups.
How to Paint a Putter Head?
Painting a putter head can be a rewarding way to customize your golf equipment, giving it a personal touch or a new look.
Here’s a step-by-step guide on how to paint a putter head:
Gather Materials
- Putter head
- Sandpaper (fine-grit)
- Cleaning supplies (e.g., mild detergent, degreaser)
- Painter’s tape or masking tape
- Primer suitable for metal surfaces
- High-quality paint suitable for metal surfaces (preferably enamel or acrylic)
- Clear coat (optional)
- Brushes or spray paint
- Well-ventilated workspace
- Protective gear (gloves, eye protection)
Preparation
Disassemble the putter head if applicable, removing non-metal components like grips or inserts. Thoroughly clean the putter head to eliminate any dirt, grease, or existing finishes.
Use a mild detergent or degreaser. Employ fine-grit sandpaper to create a slightly rough surface, promoting better paint adhesion.
Masking
Use painter’s tape or masking tape to cover areas you do not wish to paint, such as the face, hosel, and any alignment aids or markings on the putter. Take care during the masking process to achieve clean lines and prevent overspray.
Priming
Apply a thin, even coat of primer to the putter head. Primer aids paint adhesion to the metal surface and establishes a smooth base for the topcoat.
Choose a primer designed for metal surfaces and adhere to the manufacturer’s instructions regarding application and drying times.
Painting
Select a high-quality paint suitable for metal surfaces, whether enamel or acrylic. Apply the paint in thin, even coats using a brush or spray paint. If using a brush, apply smooth strokes to minimize brush marks.
If using spray paint, maintain a distance of about 6-8 inches from the putter head. Allow each coat to dry completely before applying the next, opting for multiple thin coats over a single thick one.
Drying and Curing
Once the final coat of paint is applied, allow the putter head to dry thoroughly, following the specified drying time by the paint manufacturer.
Consider letting the putter head cure for an additional period to ensure the paint fully hardens and becomes durable. This may involve waiting a day or more before reassembling the putter.
Optional Clear Coat
For added protection and a glossy finish, you can apply a clear coat over the painted surface.
Choose a clear coat compatible with the paint you used and adhere to the manufacturer’s instructions for application and drying.
Final Touches
Once the paint and clear coat (if used) are fully cured, carefully remove any masking tape.
Reassemble the putter, ensuring all components are securely attached. Inspect the paint job, making any necessary touch-ups for a polished and professional appearance.
How to Maintain the Black Oxide Putter Finish?
Maintaining the black oxide finish on your putter is crucial to preserve its appearance and performance over time.
Here are some tips on how to properly care for and maintain a black oxide putter finish:
Regular Cleaning
Clean your black oxide putter regularly with a mild detergent and a soft cloth. This helps remove dirt, sweat, and other contaminants that can accumulate during use.
Avoid Abrasive Materials
Refrain from using abrasive materials, harsh chemicals, or abrasive cleaning pads, as they can scratch or wear away the black oxide finish. Stick to gentle cleaning methods to protect the surface.
Dry Thoroughly
After cleaning, make sure the putter is thoroughly dried to prevent water or moisture from lingering on the surface. Water can contribute to the development of rust or corrosion over time.
Store Properly
Store your putter in a cool, dry place to minimize exposure to environmental factors. Avoid leaving it in damp conditions or extreme temperatures, as this can impact the longevity of the black oxide finish.
Use Headcovers
When not in use, use a headcover to protect the putter head. This helps prevent accidental scratches, dings, or exposure to elements that may degrade the black oxide coating.
Inspect Regularly
Periodically inspect the putter for any signs of wear, scratches, or areas where the black oxide may be thinning. Early detection allows for timely maintenance or reapplication of the finish.
Seek Professional Help
If you notice significant wear or damage to the black oxide finish, consider seeking professional assistance.
Professional club finishers or the putter manufacturer may offer services to restore or recoat the black oxide, ensuring it remains in top condition.
Avoid Bunker Sand
Refrain from hitting shots out of bunkers with your black oxide putter. Bunker sand can be abrasive and may accelerate the wear of the black oxide finish.
Limit Exposure to Harsh Elements
Minimize prolonged exposure to harsh elements, such as saltwater or acidic substances, as they can compromise the black oxide finish. Wipe down the putter if it comes into contact with any corrosive materials.
Follow Manufacturer Guidelines
Always adhere to any care and maintenance guidelines provided by the putter manufacturer.
They may offer specific recommendations based on the materials used and the black oxide process applied to your putter.
FAQS
Is Black Oxidation Suitable for All Putter Materials?
Black oxide primarily works well with carbon steel putters. While it provides a sleek and corrosion-resistant finish for carbon steel, it may not be as effective or suitable for other materials commonly used in putter construction.
Can I Black Oxide a Putter at Home Without Professional Equipment?
While some DIY black oxide kits are available, achieving a professional-quality finish at home may be challenging.
But DIY kits can still produce satisfactory results with careful adherence to instructions.
Does Black Oxide Affect the Putter’s Performance?
Black oxide doesn’t significantly impact a putter’s performance. It primarily serves as a cosmetic enhancement and provides some corrosion resistance.
Can I Customize the Black Oxide Finish with Other Colors?
No, you can not customize the black oxide finish with other colors.
To Recap
Black oxidizing a putter is a meticulous process that combines chemistry and craftsmanship to impart a sleek, corrosion-resistant finish.
Choosing the right materials, following precise steps, and maintaining a keen eye for detail are paramount.
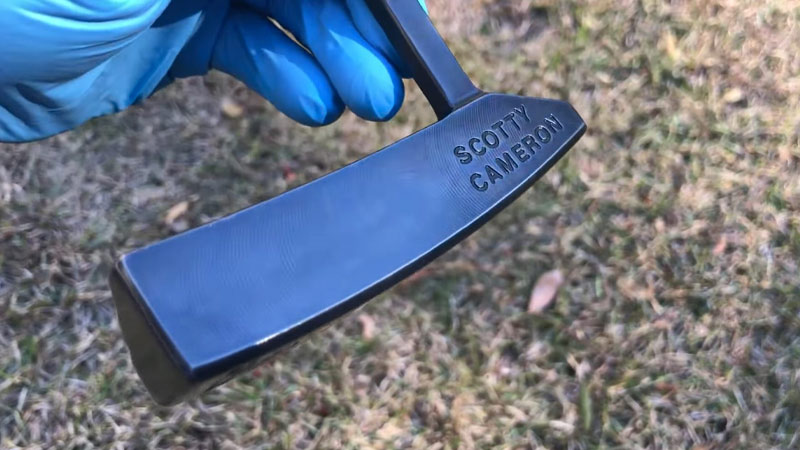
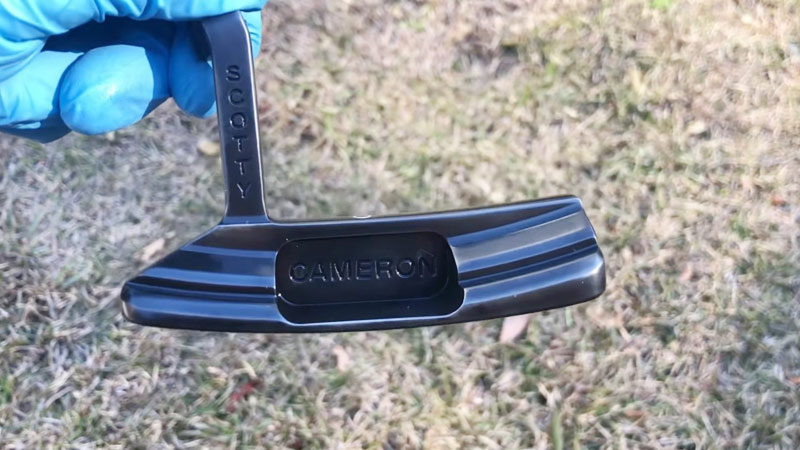
The resulting black oxide coating not only enhances the putter’s aesthetic appeal but also contributes to its longevity.
Regular care, avoiding abrasive substances, and periodic inspections are essential for preserving the finish.
Whether done professionally or with a DIY kit, the process demands patience and adherence to instructions.
A well-maintained black oxide putter stands as a testament to the fusion of form and function in golf equipment customization.